A Homeowner’s Guide to Plumbing Inspections

Chelsey Smith • July 26, 2024

Thinking about buying a new home? Before you make an offer, it’s vital to ensure that the property’s plumbing is in good shape. Plumbing issues can lead to costly repairs and uncomfortable living conditions. Here’s a comprehensive guide to what you should look for in a plumbing inspection.

Plumbing Checks When Buying a House

1. Water Pressure

Good water pressure is essential for your daily comfort. Low water pressure can indicate underlying issues such as pipe obstructions or leaks. Turn on faucets in the kitchen, bathroom, and laundry area to check for consistent water pressure.

2. Leaks and Water Damage

Inspect under sinks, around toilets, and near water heaters for any signs of leaks. Water stains on walls, ceilings, or floors can indicate past or present leaks that may need attention.

3. Pipe Material and Condition

The material of the pipes can tell you a lot about their longevity and performance. Look for:

  • Copper: Durable and long-lasting.
  • PVC: Common in newer homes; resistant to corrosion.
  • Galvanized Steel: Prone to rust and corrosion; may need replacing.

Check for any visible rust or corrosion, which could lead to leaks or pipe bursts.
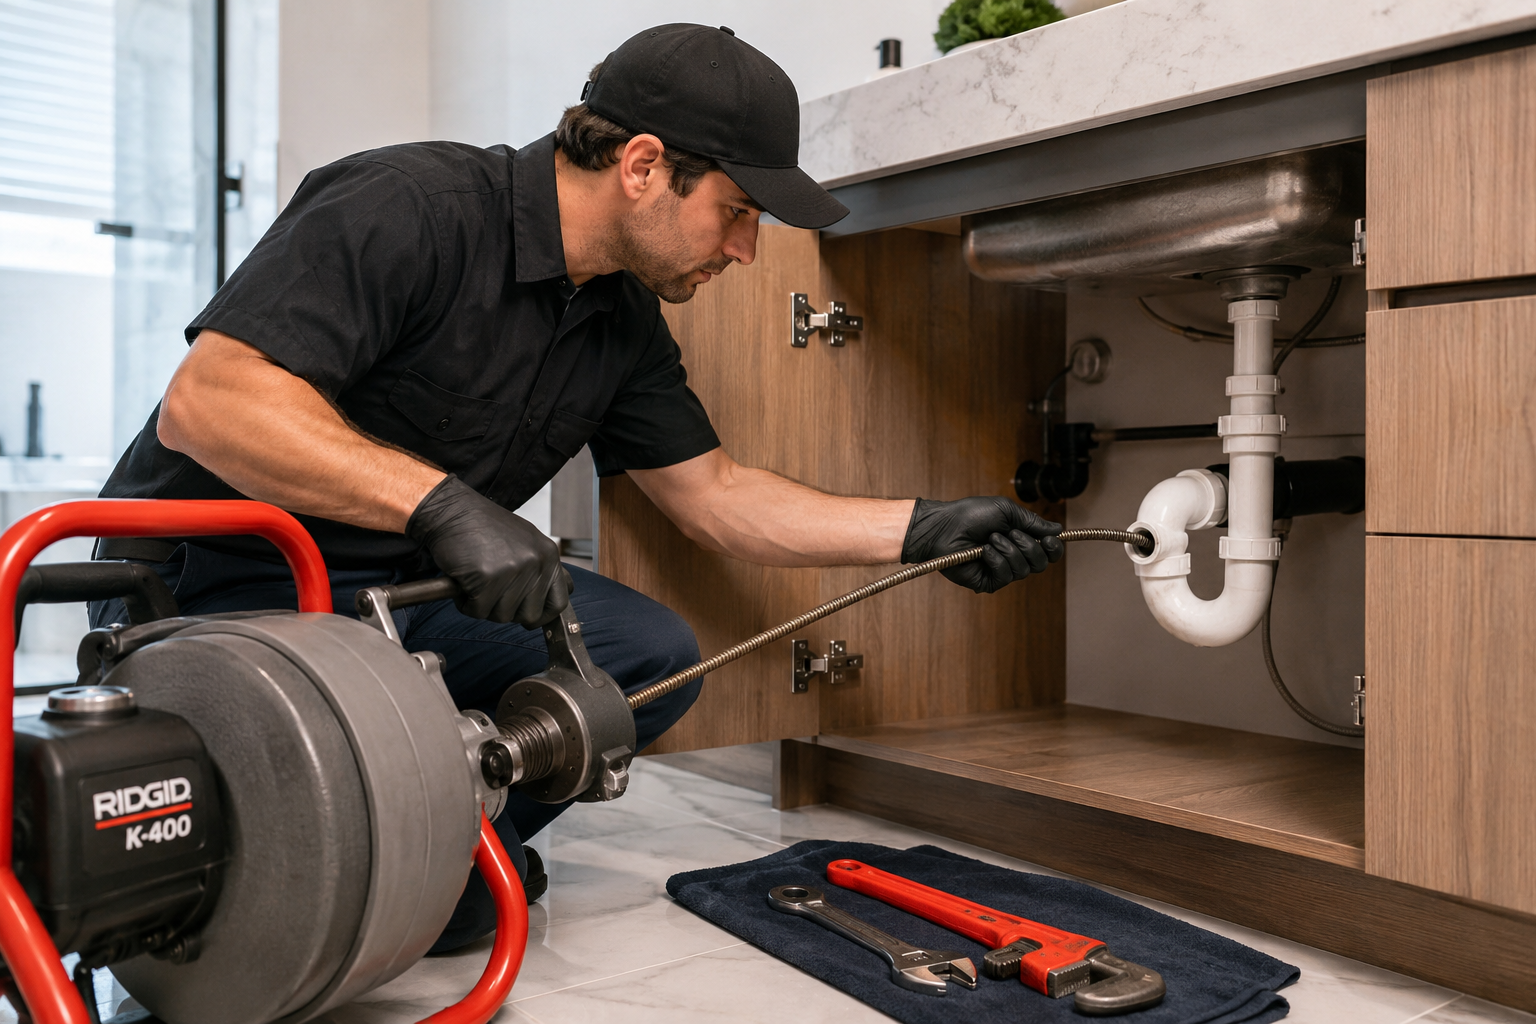
4. Sewer System

A faulty sewer system can cause unpleasant odors and significant damage. Ensure that the sewer lines are not blocked or damaged. You may want to hire a professional to perform a sewer camera inspection for a thorough check.

5. Water Heater

The water heater is an essential component of your home's plumbing system. Check the age, condition, and service history of the water heater. Look for any signs of rust, leaks, or unusual noises. Ensure the temperature settings are appropriate and that the unit is energy-efficient.

6. Fixtures and Faucets

Examine all fixtures and faucets in the house, including:

  • Sinks: Check for proper drainage and water flow.
  • Toilets: Ensure they flush properly and are not constantly running.
  • Showers and Bathtubs: Test for water pressure and temperature control.

Replace any outdated or malfunctioning fixtures to avoid future issues.

7. Drainage and Ventilation

Proper drainage and ventilation are crucial for a healthy plumbing system. Make sure all drains are free-flowing and that there are no foul odors coming from them. Ensure that plumbing vents are unobstructed, as they help maintain water flow and prevent sewer gases from entering the home.

8. Main Shutoff Valve

Locate the main shutoff valve and ensure it is easily accessible and functional. The ability to quickly shut off the water supply can prevent extensive damage in the event of a plumbing emergency.

9. Water Quality

Test the water quality for any impurities or contaminants. This can be done with a home testing kit or by a professional. Clean, safe water is essential for your health and well-being.

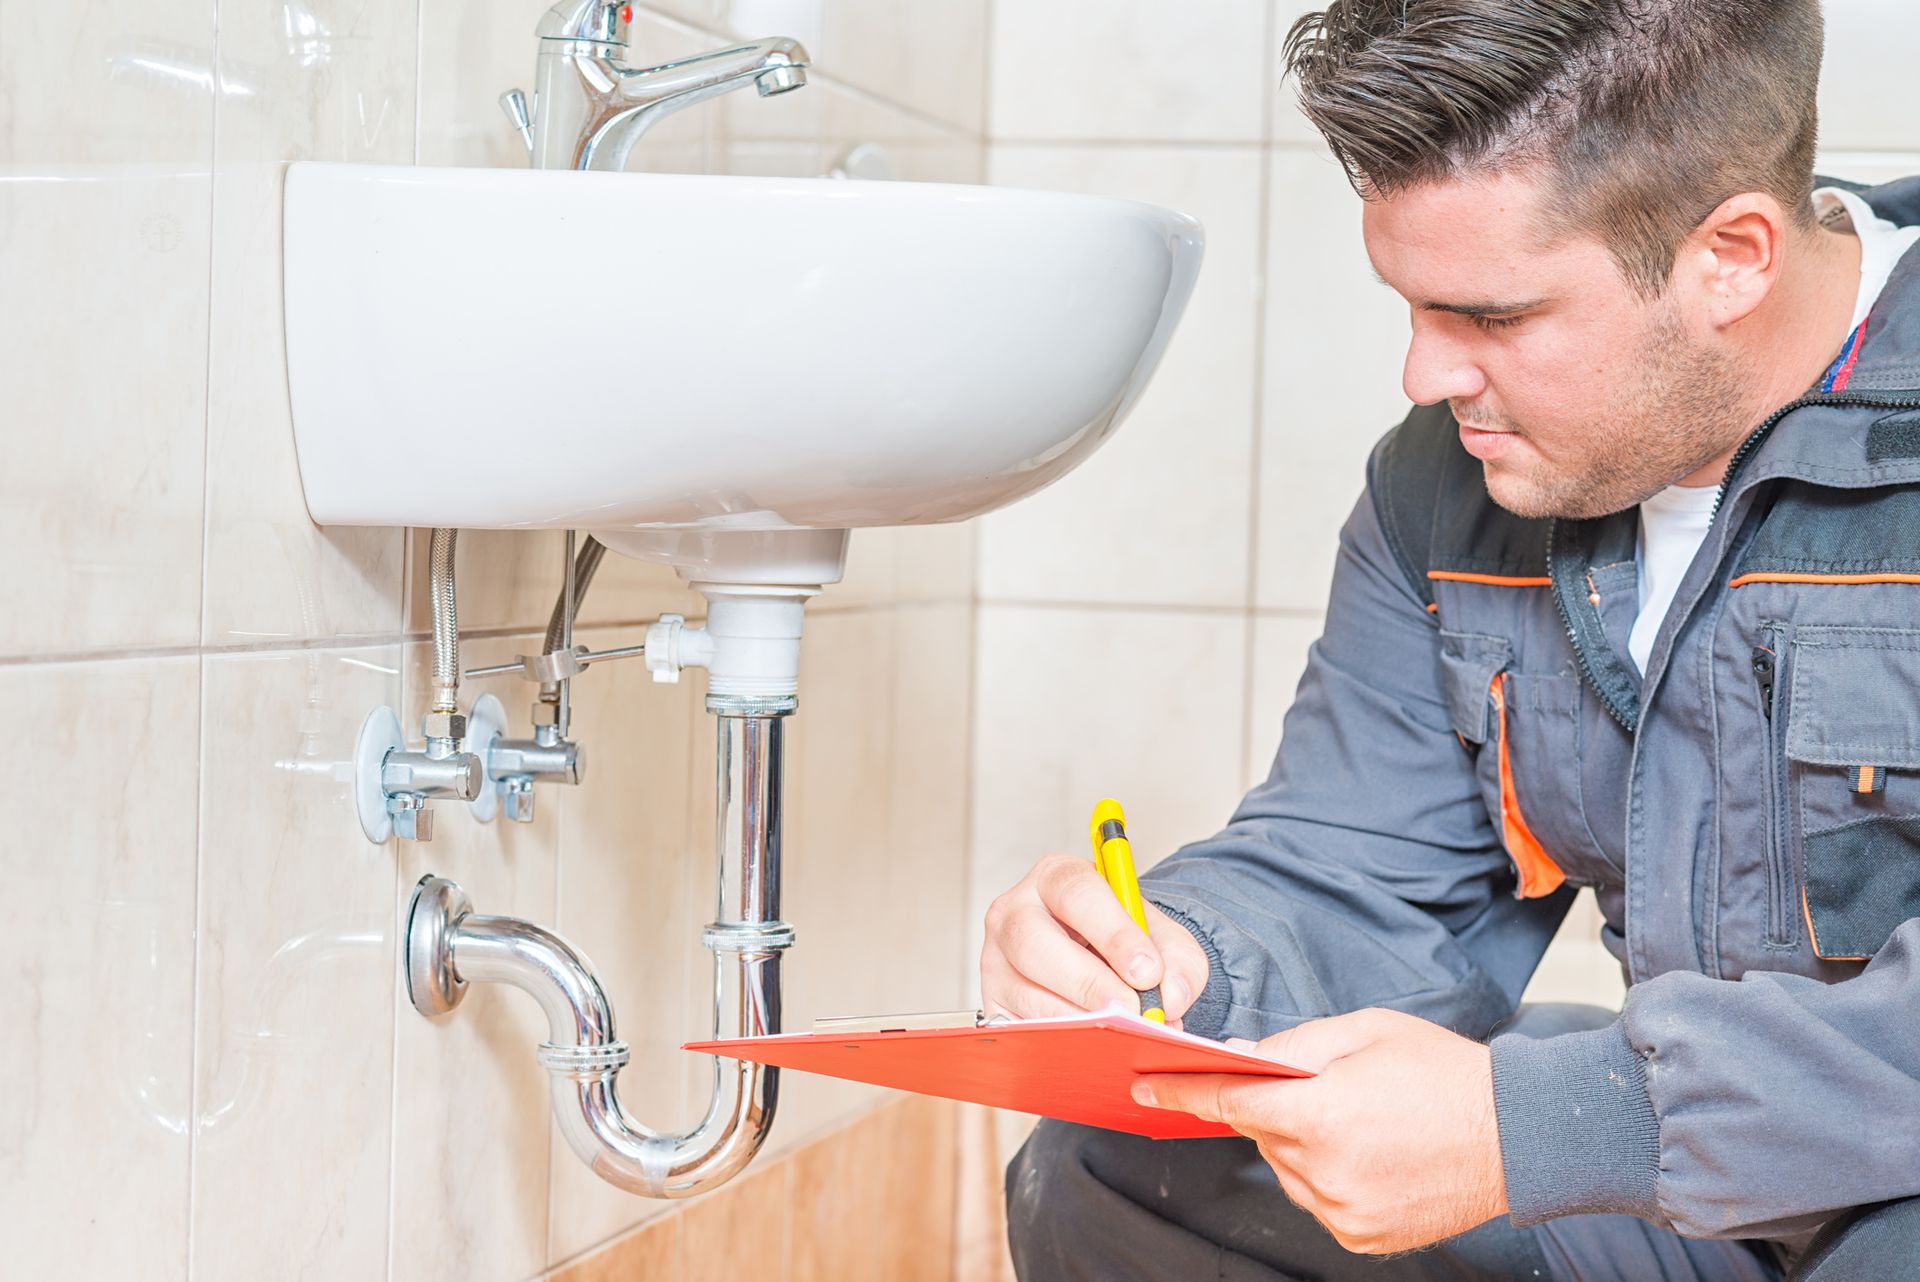
10. Professional Inspection

While DIY checks are useful, a professional plumbing inspection can offer peace of mind. Licensed plumbers have the expertise and tools to identify issues that may not be visible to the untrained eye.


Investing in a thorough plumbing inspection from A Rescue Rooter in Hamilton can save you from unexpected expenses and headaches down the line. By following this guide, you can ensure that the plumbing in your potential new home is in excellent condition. If you’re unsure or encounter any red flags, don’t hesitate to consult a professional for a detailed assessment.


Ready to take the plunge into home ownership? Make sure your first step is a comprehensive plumbing inspection with the team at A Rescue Rooter!

By taking the time to thoroughly inspect the plumbing, you’re making a smart investment in your future home. Happy house hunting!


A Rescue Rooter…905-521-8284!

October 29, 2025
Finding a pool of murky, stagnant water at the bottom of your dishwasher after a cycle is a frustrating discovery. Not only is it unsanitary, but it also means your dishes are far from clean. The good news is that a dishwasher that won't drain is a common household problem, and you can often fix it yourself with a few simple troubleshooting steps. This guide will walk you through the most frequent causes of a clogged dishwasher and how to resolve them safely. We'll also help you identify when the issue requires a professional touch. Safety First: Turn Off the Power Before you begin any inspection or repair work, your top priority is safety. Water and electricity are a dangerous combination. To avoid any risk of electric shock, you must disconnect the dishwasher from its power source. You can do this by either unplugging the unit from the wall outlet, which is often located under the sink, or by switching off the dedicated circuit breaker for the dishwasher in your home's electrical panel. Once the power is off, you can safely proceed with your investigation. Common Causes for a Dishwasher Not Draining Most drainage issues stem from a simple blockage. By checking a few key areas, you can usually locate and clear the obstruction without needing special tools. 1. Check for a Clogged Filter Your dishwasher's filter is designed to catch food particles, debris, and other small objects to prevent them from clogging the drain system. Over time, this filter can become blocked, stopping water from draining properly. Locate the Filter: The filter is typically a cylindrical component found on the floor of the dishwasher, usually beneath the lower spray arm. You may need to remove the bottom rack to access it. Remove and Clean: Most filters can be removed by twisting them counter-clockwise. Once removed, take it to the sink and wash it thoroughly with warm, soapy water. Use a soft brush to gently scrub away any stubborn food residue. Inspect the Sump: With the filter removed, check the area underneath it (the sump) for any larger pieces of debris that might be causing a blockage. Reinstall: Once clean, securely place the filter back into its housing. Running the dishwasher without the filter can lead to more serious damage to the pump and drain lines. After cleaning the filter, run a short rinse cycle to see if the problem is resolved. 2. Inspect the Drain Hose The drain hose is a flexible, ribbed tube that carries wastewater from your dishwasher to the garbage disposal or the main drain pipe under your sink. Kinks or clogs in this hose are another frequent reason for drainage failure. Look for Kinks: Visually inspect the entire length of the hose that runs from the dishwasher to the sink's plumbing. Ensure it isn't bent, twisted, or pinched behind the appliance or under the sink. Straightening out a kink is often all it takes to fix the issue. Check for Clogs: If there are no visible kinks, the hose itself may be clogged. Place a bucket or pan under the connection point at the sink, and disconnect the hose. Allow any trapped water to drain into the bucket. Clear the Hose: Carefully inspect both ends of the hose for blockages. You can try to dislodge any clogs by gently blowing through the hose or by using a plumber's snake to clear the obstruction. Once clear, reattach it securely. 3. Clear the Garbage Disposal Many dishwashers drain directly into the garbage disposal. If the disposal is clogged with food waste, it will prevent water from the dishwasher from draining away. Run the Disposal: Before starting a dishwasher cycle, always run your garbage disposal with cold water for about 30 seconds to ensure it's clear. Check the Knockout Plug: If your dishwasher is newly installed, the installer may have forgotten to remove the knockout plug inside the disposal's dishwasher connection nipple. To check this, you'll need to disconnect the drain hose from the disposal and feel inside the nipple for a plastic plug. If it's there, carefully knock it out with a screwdriver and hammer, then retrieve the plastic piece from the disposal. 4. Examine the Air Gap Some plumbing codes require an air gap, which is a small cylinder-shaped fixture located on your countertop near the sink. Its purpose is to prevent contaminated drain water from siphoning back into your dishwasher. Like other components, it can get clogged. Remove the Cover: Pull off the metal or plastic cover of the air gap. Clean Inside: Underneath, you'll see a smaller plastic cap. Remove it and clean out any food particles or grime that have built up inside. A small brush or pipe cleaner can be very effective. Test the Drain: Once clean, reassemble the air gap and run a rinse cycle on your dishwasher. When to Call a Professional Plumber While these DIY steps can solve many drainage problems, some issues are more complex and require professional expertise. You should consider calling a plumber if: You've tried all the troubleshooting steps above and the dishwasher still won't drain. You suspect the problem lies with the dishwasher's drain pump or motor, which are more difficult and risky to repair. The issue appears to be related to your home's main plumbing lines rather than just the dishwasher. You are not comfortable performing any of the inspection or cleaning steps yourself.  Attempting complex repairs without the proper knowledge can lead to further damage to your appliance or even cause water damage to your kitchen. Get Expert Help from A Rescue Rooter Don't let a clogged dishwasher disrupt your routine. If you're facing a stubborn drainage issue or prefer to leave the work to an expert, the team at A Rescue Rooter is here to help. Our professional plumbers have the tools and experience to quickly diagnose and resolve any plumbing problem, from a simple clog to a complex repair. We ensure the job is done right, so you can get back to enjoying the convenience of a fully functional dishwasher.
September 23, 2025
An unexpectedly high water bill can be a shock. While water rates can fluctuate, a sudden spike often points to a different problem: excess water usage. The good news is that you have significant control over how much water your household consumes. By adopting a few mindful habits and making smart upgrades, you can lower your environmental impact and save money. This guide will walk you through practical ways to conserve water at home, from simple behavioral changes to identifying hidden leaks. We will explore how to make your kitchen and bathroom more efficient, how to handle outdoor water use, and what to do when you suspect a bigger problem.
A young man in an apron examines a toilet in a showroom setting.
By Robbie Balla August 12, 2025
Common Toilet Issues and How to Fix Them
Show More