How to Use a Plunger Properly
When a drain backs up, panic often sets in—but before you reach for harsh chemicals or call it a lost cause, a simple plunger can often do the trick. Knowing how to use the right type of plunger—and how to use it correctly—can save you time, money, and stress. In this guide, we’ll walk you through how to use both toilet and sink plungers effectively, and when it’s time to call in the professionals at A Rescue Rooter in Southern Ontario.
Types of Plungers (And Why They Matter)
Toilet Plunger (Flange Plunger)
A toilet plunger is designed with a soft rubber flap (or flange) that extends from the cup. This allows it to create a tighter seal inside the curved toilet drain.
Best for: Toilets only
Why it works: The flange fits snugly into the drain opening, creating the suction needed to dislodge clogs.
Sink Plunger (Cup Plunger)
The sink plunger has a flat bottom without a flange, making it ideal for flat surfaces like sinks, tubs, and shower drains.
Best for: Sinks, bathtubs, and floor drains
Why it works: The flat cup forms a seal over flat drain openings.
How to Use a Toilet Plunger
Using a plunger properly is just as important as having the right one. Follow these steps for best results:
- Ensure There’s Enough Water
The plunger cup must be fully submerged to create effective suction. Add water to the bowl if needed. - Position the Plunger Correctly
Insert the flange into the toilet drain opening and press down gently to create a seal. - Start Slowly
Begin with gentle pushes to remove trapped air. This prevents splashing. - Plunge with Force
Once sealed, plunge vigorously up and down for about 15–20 seconds. Maintain the seal throughout. - Test the Drain
Pull the plunger away and see if the water drains. Repeat if necessary.
Pro Tip: Avoid aggressive first plunges—this can cause messy splashes instead of effective suction.
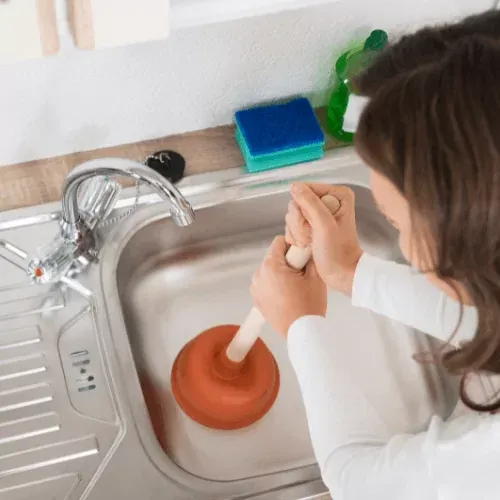
How to Use a Sink Plunger
- Block the Overflow Hole
Most sinks have an overflow opening. Cover it with a wet cloth or tape to improve suction. - Add Water if Needed
Just like with toilets, the plunger cup needs to be submerged. - Create a Seal
Place the plunger directly over the drain and press down to remove air. - Plunge Steadily
Use quick, consistent plunges for 15–30 seconds. - Check Drainage
Remove the plunger and test the water flow.
Common Mistakes to Avoid
- Using the wrong plunger type
- Not sealing the plunger properly
- Plunging too aggressively at first
- Forgetting to block overflow drains in sinks
- Giving up too quickly (sometimes it takes a few rounds)
When to Call a Professional
If you’ve tried plunging and the clog won’t budge, it may be deeper in your plumbing system. That’s when it’s time to call in the experts.
A Rescue Rooter in Southern Ontario is available 24/7 for emergency plumbing issues, and best of all—they don’t charge a premium for after-hours service. Whether it’s a stubborn clog, a backup, or a more serious issue, their experienced team can handle it quickly and professionally.
Call A Rescue Rooter today at 905-521-8284 for fast, reliable help when you need it most. A plunger is one of the simplest yet most effective tools in your home maintenance toolkit—but only if used correctly. By choosing the right plunger and following proper techniques, you can solve many common clogs on your own.
And remember, if the problem persists, A Rescue Rooter in Southern Ontario is always ready to help—day or night—without the extra cost.