Summer Plumbing Survival Guide for Homeowners

Chelsey Smith • June 27, 2024

Summer is just around the corner, and while it brings longer days and sunny skies, it also places unique demands on your home's plumbing system. Whether you’re hosting backyard barbecues or simply enjoying the season, maintaining your plumbing should be a top priority. This guide will walk you through 10 essential summer plumbing tips to keep your home running smoothly all season long.

Why Summer is Crucial for Plumbing

The summer months can be particularly tough on your plumbing system. With increased water usage from outdoor activities, summer vacations, and higher temperatures, the risk of plumbing issues like clogged drains, sewer line backups, and leaky pipes rises significantly. Understanding how the change in season affects your plumbing can help you take proactive steps to prevent problems before they start.


Increased Water Usage

Summer activities such as filling swimming pools, watering gardens, and running sprinklers can place extra stress on your plumbing system. This increased demand often leads to higher chances of leaks, clogs, and other issues.


Temperature Changes

Heat can cause pipes to expand and contract, leading to cracks and leaks. Additionally, warmer temperatures can exacerbate existing plumbing problems, making minor issues more severe.


Vacation Time

Many homeowners take extended vacations during the summer. Leaving your home unmonitored for long periods can result in undetected leaks or other issues that worsen over time.


Top 10 Summer Plumbing Tips

Taking preventive measures can save you from costly repairs and ensure your plumbing system operates efficiently throughout the summer. Here are 10 tips to help you stay ahead of common summer plumbing issues.


1. Regularly Inspect Outdoor Faucets and Hoses

Outdoor faucets and hoses are essential for summer activities but are often the first to develop issues. Inspect them regularly for leaks or damage.

  • Check for Leaks: Look for drips or puddles around outdoor faucets.
  • Replace Faulty Hoses: If a hose shows signs of wear and tear, replace it immediately.
  • Use Hose Bib Covers: Protect your outdoor faucets with covers to prevent damage.


2. Check for Leaks in the Bathroom and Kitchen

Leaks in the bathroom and kitchen can lead to water waste and higher utility bills. Make it a habit to check these areas frequently.

  • Inspect Under Sinks: Look for moisture or water stains under sinks.
  • Test Faucets: Turn on faucets and check for drips when turned off.
  • Check Toilets: A running toilet can waste gallons of water daily.


3. Ensure Proper Drainage Around the Home

Proper drainage is crucial to prevent water damage and mold growth. Ensure your home’s drainage systems are working effectively.

  • Clear Gutters: Remove debris from gutters to allow water to flow freely.
  • Inspect Downspouts: Make sure downspouts direct water away from your home's foundation.
  • Grade Landscaping: Ensure the ground slopes away from your home to prevent water pooling.


4. Monitor Water Pressure

High water pressure can stress your plumbing system and lead to leaks or bursts. Keep an eye on your home's water pressure levels.

  • Install a Pressure Gauge: Use a water pressure gauge to monitor levels.
  • Adjust Pressure Regulator: If pressure is too high, adjust the regulator.
  • Call a Professional: If you're unsure, consult a plumber for assistance.


5. Tips for Preventing Sewer Line Backups

Sewer line backups can cause significant damage and are particularly common in summer due to increased rainfall and tree root growth.

  • Avoid Flushing Wipes: Even "flushable" wipes can clog sewer lines.
  • Dispose of Grease Properly: Never pour grease down the drain.
  • Schedule Regular Inspections: Have a plumber inspect your sewer line for potential issues.


6. Advice on Maintaining Sump Pumps

A functional sump pump is crucial for preventing basement flooding during summer storms. Regular maintenance can keep it in good working order.

  • Test the Pump: Pour water into the sump pit to ensure the pump activates.
  • Clean the Pit: Remove debris from the sump pit to prevent clogs.
  • Check the Power Source: Ensure the pump is connected to a reliable power source.


7. Preparing for Vacation or Extended Absences

If you're planning a summer vacation, take steps to protect your home from potential plumbing issues while you're away.

  • Shut Off Main Water Supply: Turn off the main water supply to prevent leaks.
  • Drain Water Heater: Empty the water heater to prevent damage.
  • Enlist a Neighbor: Ask a neighbor to check on your home periodically.


8. Guidance on Conserving Water During Summer

Conserving water not only benefits the environment but also reduces your utility bills. Here are some tips to save water during the summer months.

  • Use a Timer: Set a timer for outdoor watering to avoid overuse.
  • Fix Leaks Promptly: Address leaks immediately to prevent water waste.
  • Choose Drought-Resistant Plants: Opt for plants that require less water.


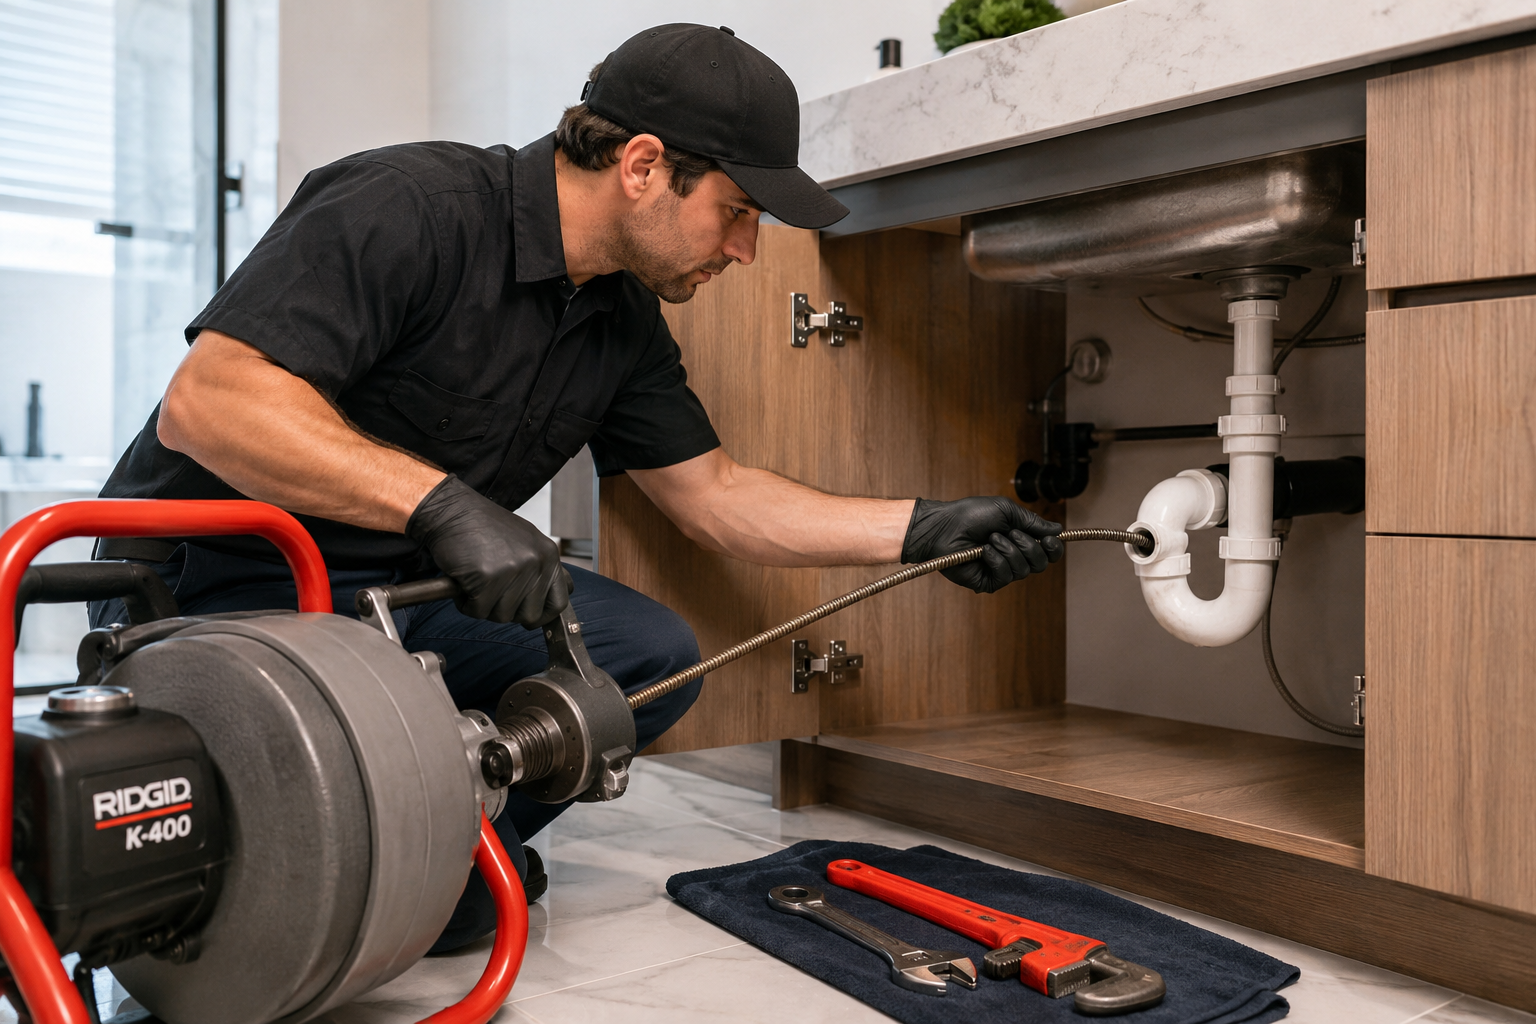
Importance of Professional Maintenance

While these tips can help you manage your plumbing system, nothing beats professional maintenance. Scheduling a professional plumbing inspection by a Hamilton plumber before and after summer can catch potential issues early and keep your system running efficiently.


Early Detection

Professional plumbers can identify and fix issues before they become major problems, saving you time and money in the long run.


Comprehensive Maintenance

A professional service includes a thorough inspection of all plumbing components, ensuring everything is in top condition.


Peace of Mind

Knowing your plumbing system is professionally maintained gives you peace of mind, especially during peak usage periods like summer.

By following these 10 summer plumbing tips, homeowners can avoid common issues and enjoy a hassle-free season. Remember, regular maintenance and early detection are key to preventing costly repairs. Share this post with fellow homeowners who could benefit from these tips and join the conversation by sharing your own summer plumbing experiences in the comments below.


For more expert advice and personalized plumbing services, stay tuned for our upcoming posts or contact us directly. Ready to take the next step? Rescue Rooter is here to help.

October 29, 2025
Finding a pool of murky, stagnant water at the bottom of your dishwasher after a cycle is a frustrating discovery. Not only is it unsanitary, but it also means your dishes are far from clean. The good news is that a dishwasher that won't drain is a common household problem, and you can often fix it yourself with a few simple troubleshooting steps. This guide will walk you through the most frequent causes of a clogged dishwasher and how to resolve them safely. We'll also help you identify when the issue requires a professional touch. Safety First: Turn Off the Power Before you begin any inspection or repair work, your top priority is safety. Water and electricity are a dangerous combination. To avoid any risk of electric shock, you must disconnect the dishwasher from its power source. You can do this by either unplugging the unit from the wall outlet, which is often located under the sink, or by switching off the dedicated circuit breaker for the dishwasher in your home's electrical panel. Once the power is off, you can safely proceed with your investigation. Common Causes for a Dishwasher Not Draining Most drainage issues stem from a simple blockage. By checking a few key areas, you can usually locate and clear the obstruction without needing special tools. 1. Check for a Clogged Filter Your dishwasher's filter is designed to catch food particles, debris, and other small objects to prevent them from clogging the drain system. Over time, this filter can become blocked, stopping water from draining properly. Locate the Filter: The filter is typically a cylindrical component found on the floor of the dishwasher, usually beneath the lower spray arm. You may need to remove the bottom rack to access it. Remove and Clean: Most filters can be removed by twisting them counter-clockwise. Once removed, take it to the sink and wash it thoroughly with warm, soapy water. Use a soft brush to gently scrub away any stubborn food residue. Inspect the Sump: With the filter removed, check the area underneath it (the sump) for any larger pieces of debris that might be causing a blockage. Reinstall: Once clean, securely place the filter back into its housing. Running the dishwasher without the filter can lead to more serious damage to the pump and drain lines. After cleaning the filter, run a short rinse cycle to see if the problem is resolved. 2. Inspect the Drain Hose The drain hose is a flexible, ribbed tube that carries wastewater from your dishwasher to the garbage disposal or the main drain pipe under your sink. Kinks or clogs in this hose are another frequent reason for drainage failure. Look for Kinks: Visually inspect the entire length of the hose that runs from the dishwasher to the sink's plumbing. Ensure it isn't bent, twisted, or pinched behind the appliance or under the sink. Straightening out a kink is often all it takes to fix the issue. Check for Clogs: If there are no visible kinks, the hose itself may be clogged. Place a bucket or pan under the connection point at the sink, and disconnect the hose. Allow any trapped water to drain into the bucket. Clear the Hose: Carefully inspect both ends of the hose for blockages. You can try to dislodge any clogs by gently blowing through the hose or by using a plumber's snake to clear the obstruction. Once clear, reattach it securely. 3. Clear the Garbage Disposal Many dishwashers drain directly into the garbage disposal. If the disposal is clogged with food waste, it will prevent water from the dishwasher from draining away. Run the Disposal: Before starting a dishwasher cycle, always run your garbage disposal with cold water for about 30 seconds to ensure it's clear. Check the Knockout Plug: If your dishwasher is newly installed, the installer may have forgotten to remove the knockout plug inside the disposal's dishwasher connection nipple. To check this, you'll need to disconnect the drain hose from the disposal and feel inside the nipple for a plastic plug. If it's there, carefully knock it out with a screwdriver and hammer, then retrieve the plastic piece from the disposal. 4. Examine the Air Gap Some plumbing codes require an air gap, which is a small cylinder-shaped fixture located on your countertop near the sink. Its purpose is to prevent contaminated drain water from siphoning back into your dishwasher. Like other components, it can get clogged. Remove the Cover: Pull off the metal or plastic cover of the air gap. Clean Inside: Underneath, you'll see a smaller plastic cap. Remove it and clean out any food particles or grime that have built up inside. A small brush or pipe cleaner can be very effective. Test the Drain: Once clean, reassemble the air gap and run a rinse cycle on your dishwasher. When to Call a Professional Plumber While these DIY steps can solve many drainage problems, some issues are more complex and require professional expertise. You should consider calling a plumber if: You've tried all the troubleshooting steps above and the dishwasher still won't drain. You suspect the problem lies with the dishwasher's drain pump or motor, which are more difficult and risky to repair. The issue appears to be related to your home's main plumbing lines rather than just the dishwasher. You are not comfortable performing any of the inspection or cleaning steps yourself.  Attempting complex repairs without the proper knowledge can lead to further damage to your appliance or even cause water damage to your kitchen. Get Expert Help from A Rescue Rooter Don't let a clogged dishwasher disrupt your routine. If you're facing a stubborn drainage issue or prefer to leave the work to an expert, the team at A Rescue Rooter is here to help. Our professional plumbers have the tools and experience to quickly diagnose and resolve any plumbing problem, from a simple clog to a complex repair. We ensure the job is done right, so you can get back to enjoying the convenience of a fully functional dishwasher.
September 23, 2025
An unexpectedly high water bill can be a shock. While water rates can fluctuate, a sudden spike often points to a different problem: excess water usage. The good news is that you have significant control over how much water your household consumes. By adopting a few mindful habits and making smart upgrades, you can lower your environmental impact and save money. This guide will walk you through practical ways to conserve water at home, from simple behavioral changes to identifying hidden leaks. We will explore how to make your kitchen and bathroom more efficient, how to handle outdoor water use, and what to do when you suspect a bigger problem.
A young man in an apron examines a toilet in a showroom setting.
By Robbie Balla August 12, 2025
Common Toilet Issues and How to Fix Them
Show More