Plumbing Secrets Every Homeowner Should Know

Chelsey Smith • September 27, 2024

Plumbing might not be the most glamorous topic, but it’s an essential one for homeowners. Understanding the basics of plumbing can save you time, money, and frustration. Whether you’re a new homeowner or someone looking to brush up on your maintenance skills, this comprehensive guide will provide you with invaluable insights into your home’s plumbing system.

Identifying Common Plumbing Issues

Knowing how to identify common plumbing issues can help you address them before they become major problems. Here are some common signs to look out for:

Leaky Faucets

A dripping faucet isn’t just annoying; it’s also a waste of water. Over time, even a small drip can add up to significant water loss. Usually, leaky faucets are caused by worn-out washers or seals that need replacing.

Slow Drains

If your sink or bathtub is draining slower than usual, it’s a sign of a clogged pipe. Hair, soap scum, and food particles are common culprits. Using a drain snake or a plunger can often resolve this issue.

Running Toilets

A running toilet can waste a lot of water and increase your utility bills. The problem usually lies in the flapper valve, which may need adjustment or replacement. Sometimes, sediment buildup can affect the fill valve, requiring a thorough cleaning.


Tools Every Homeowner Should Have

Having the right tools can make tackling plumbing issues much easier. Here are some must-have tools for your plumbing toolkit:
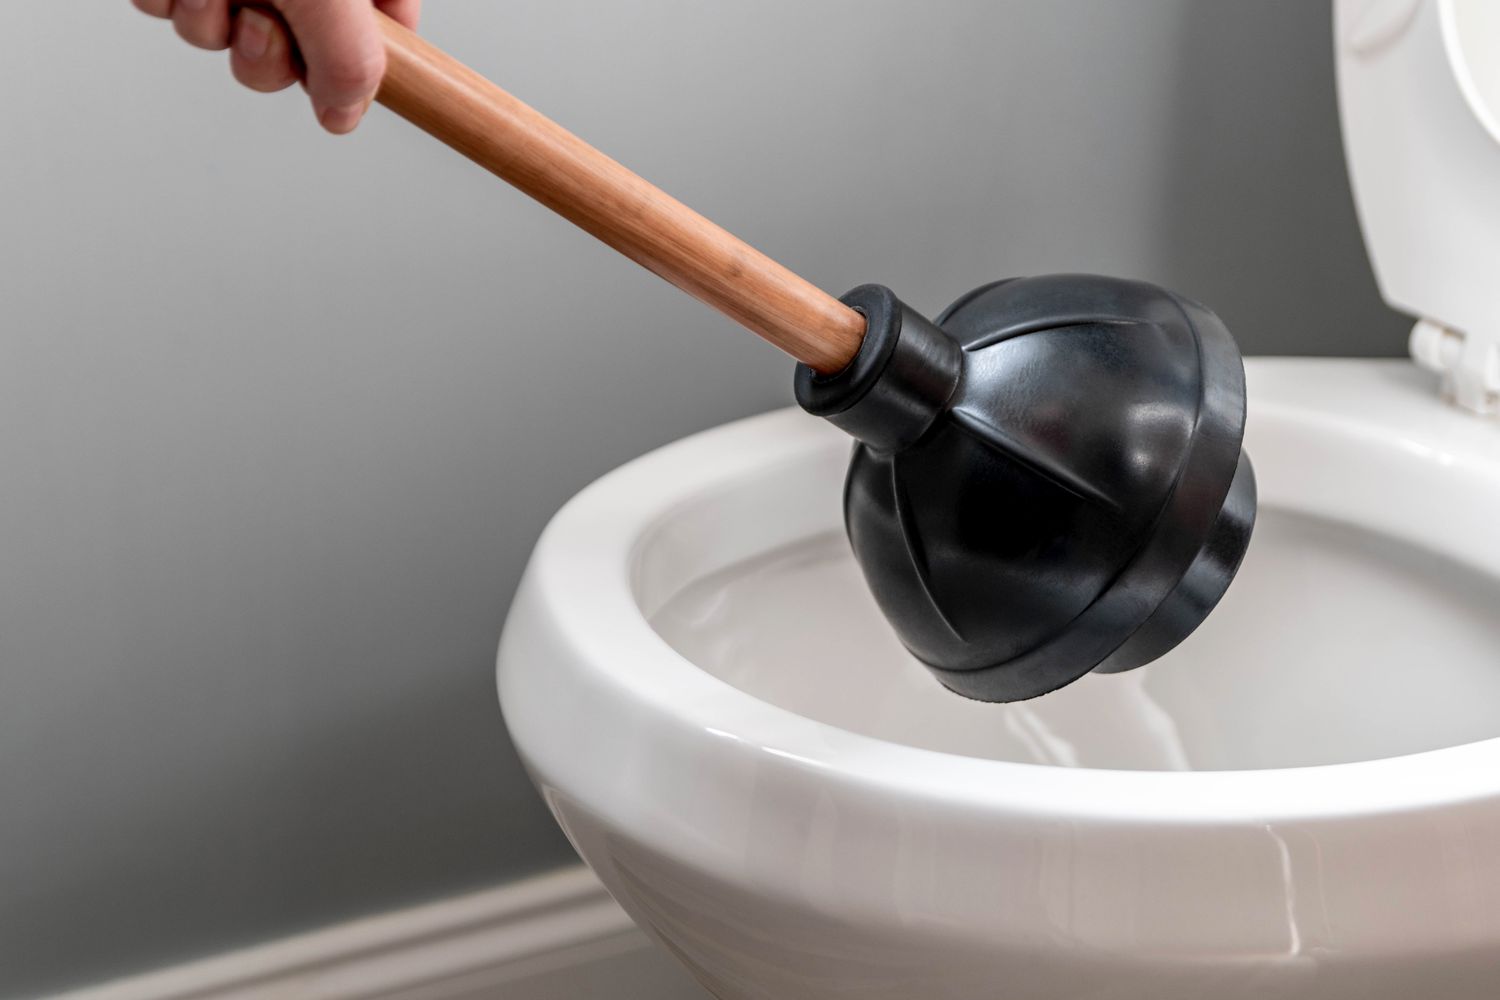
Plunger

A plunger is an essential tool for unclogging toilets and drains. It's simple but highly effective for minor blockages.
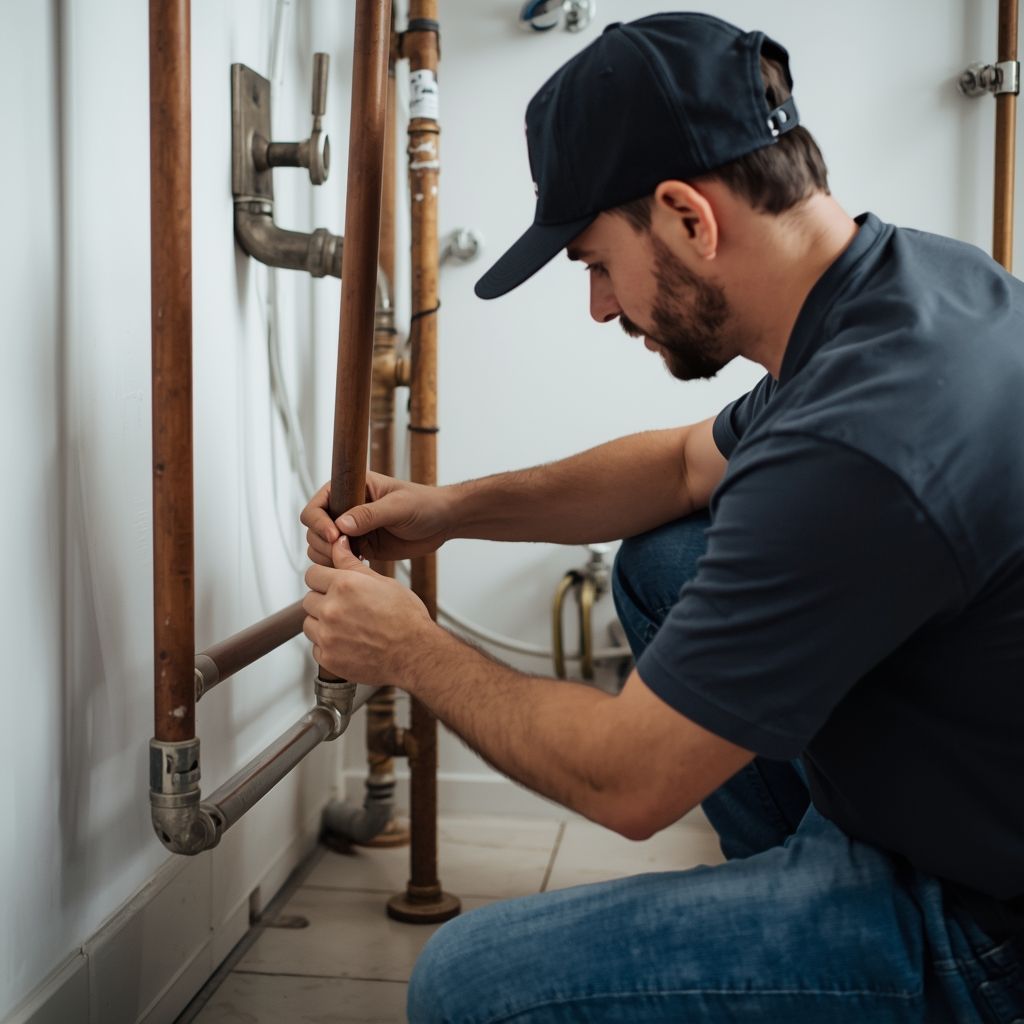
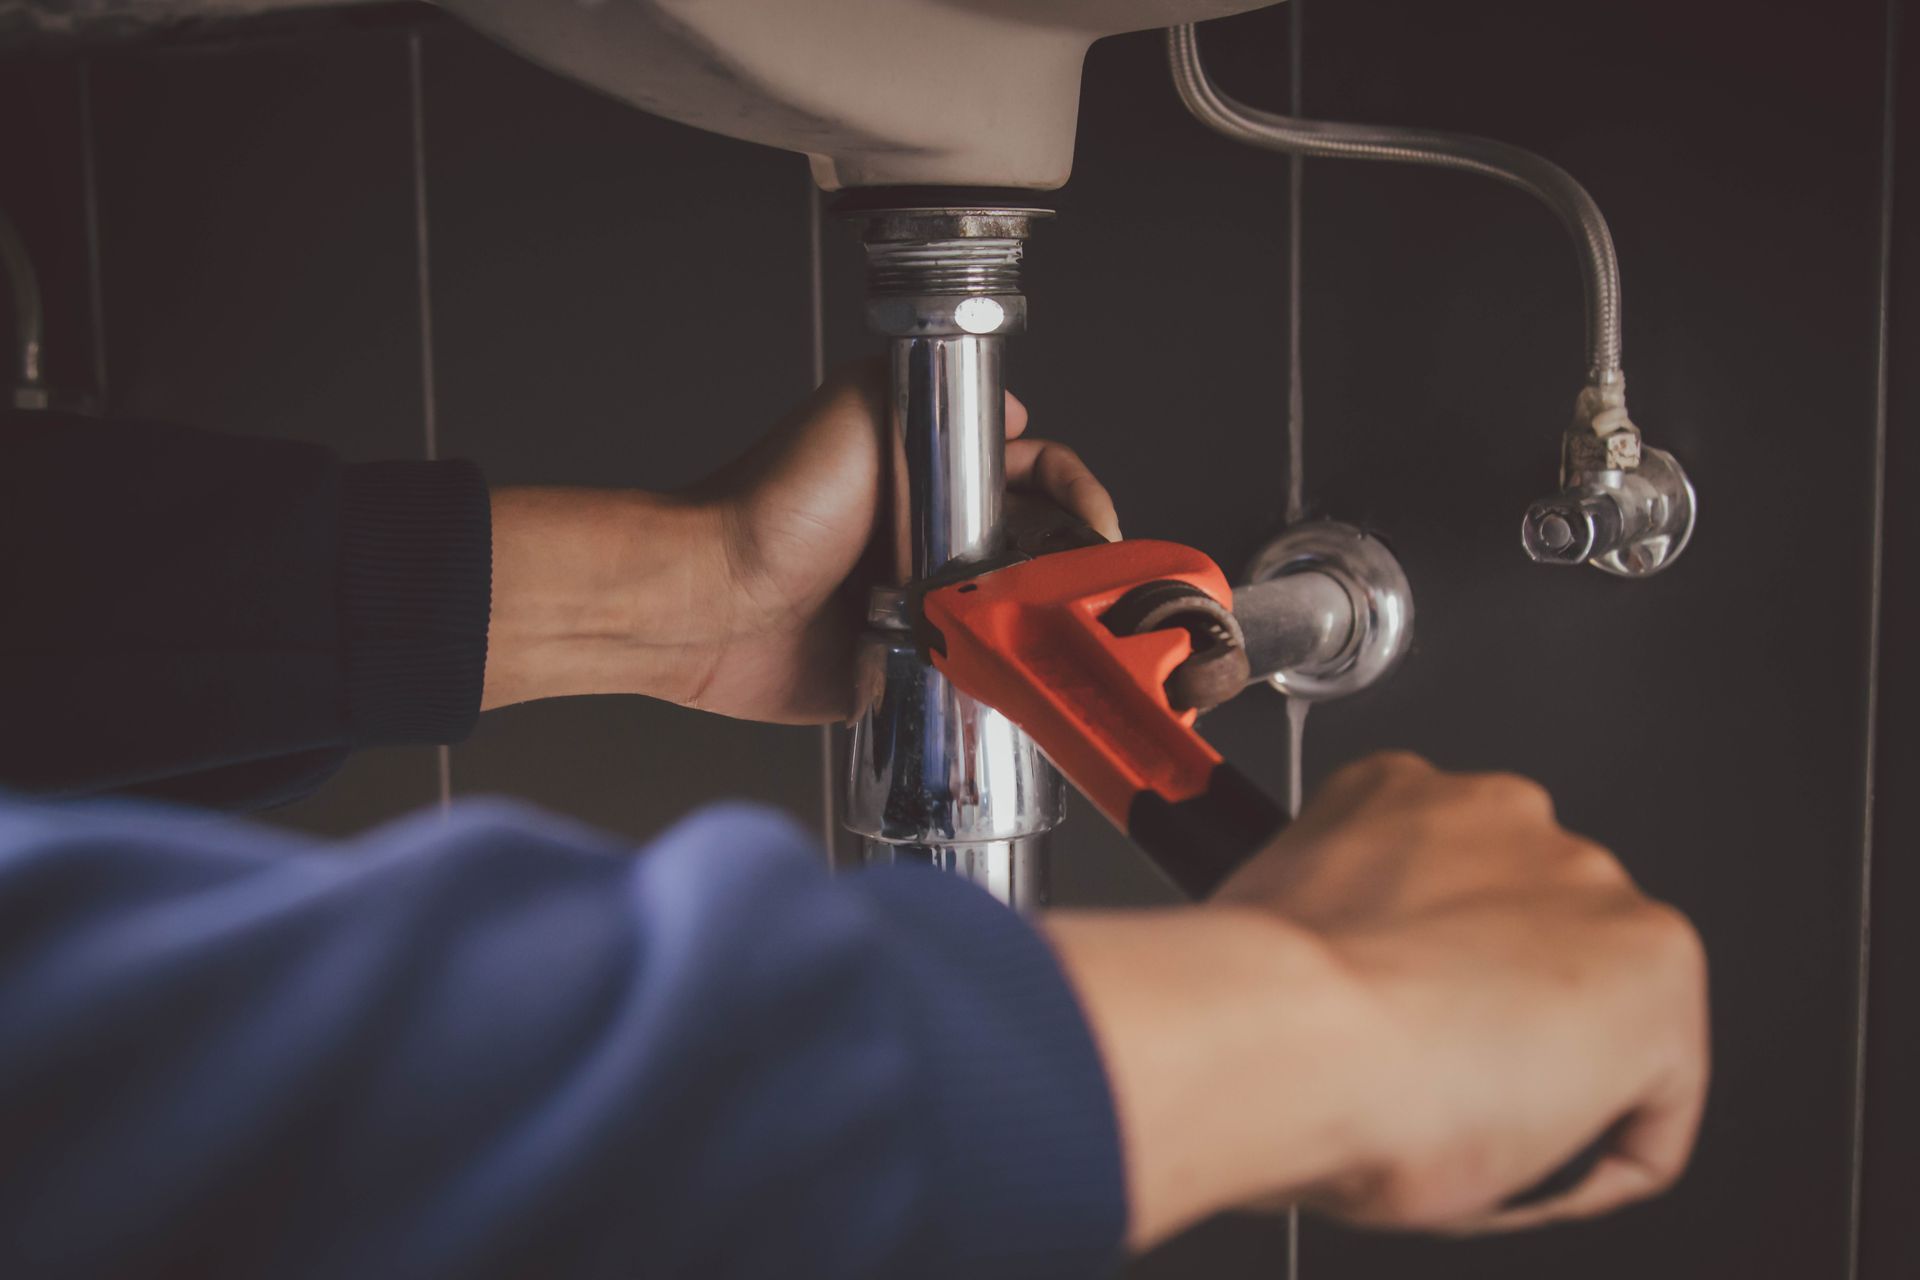
Pipe Wrench

A pipe wrench is versatile and useful for loosening and tightening pipes. It offers excellent grip and can tackle various sizes of pipes.

Plumber's Tape

Also known as Teflon tape, plumber’s tape is essential for sealing threaded pipe joints. It prevents leaks and ensures a tight seal.


DIY Plumbing Tips

While some plumbing issues require professional intervention, many can be handled by homeowners. Here are some DIY tips to help you maintain your plumbing system:

Fixing a Leaky Faucet

Start by turning off the water supply to the faucet. Remove the handle and inspect the washer and O-ring for wear and tear. Replace any damaged parts and reassemble the faucet. Turn the water back on and check for leaks.

Unclogging a Drain

For minor clogs, a plunger should do the trick. For more stubborn blockages, use a drain snake to break up the clog. Avoid using chemical drain cleaners as they can damage your pipes over time.

Replacing a Showerhead

Unscrew the old showerhead and clean the threads on the shower arm. Wrap plumber’s tape around the threads and screw on the new showerhead. Turn on the water to check for leaks and make any necessary adjustments.


When to Call a Professional

While DIY can be rewarding, knowing when to call a professional plumber is crucial. Here are some situations where professional help is advisable:

Major Leaks

If you have a significant leak that you can’t control, it’s time to call a plumber. Major leaks can cause extensive water damage if not addressed promptly.

Sewage Backup

A sewage backup is a severe issue that requires immediate professional attention. It can make your home uninhabitable and pose serious health risks.

Low Water Pressure

If you’re experiencing low water pressure throughout your home, it could be a sign of a more significant issue like a hidden leak or pipe corrosion. A professional can diagnose and fix the problem efficiently.


Preventative Maintenance Tips

Regular maintenance can prevent many common plumbing issues. Here are some preventative tips to keep your plumbing system in top shape:

Regular Inspections

Perform regular inspections of your plumbing system. Look for signs of wear and tear, leaks, and corrosion. Early detection can save you from costly repairs.

Clean Your Drains

Regularly clean your drains to prevent clogs. Use a mixture of baking soda and vinegar followed by hot water to keep your drains clear and odor-free.

Insulate Pipes

In colder climates, insulating your pipes can prevent them from freezing and bursting. Pipe insulation is inexpensive and easy to install.


Understanding Water Heaters

Water heaters are an integral part of your plumbing system. Understanding how they work can help you troubleshoot issues and perform basic maintenance.

Types of Water Heaters

There are mainly two types of water heaters—tankless and storage. Tankless water heaters provide hot water on demand, while storage water heaters keep a reservoir of hot water ready for use. Each has its own set of pros and cons.

Basic Maintenance

For tank water heaters, it’s essential to drain the tank and remove sediment buildup every six months. This improves efficiency and extends the life of the heater. For tankless water heaters, descaling the unit annually can prevent mineral buildup.


Water Conservation Tips

Conserving water is not only good for the environment but also for your wallet. Here are some tips to help you save water:

Fix Leaks Promptly

Even small leaks can waste a significant amount of water over time. Fix any leaks as soon as you notice them.

Install Low-Flow Fixtures

Low-flow toilets, faucets, and showerheads can reduce water usage without compromising performance. They are easy to install and can significantly lower your water bill.

Use Water-Efficient Appliances

When it’s time to replace appliances like washing machines or dishwashers, opt for water-efficient models. They use less water and energy, providing long-term savings.


Understanding your home’s plumbing system is crucial for maintaining a well-functioning household. By knowing the basics, identifying common issues, and performing regular maintenance, you can avoid costly repairs and ensure that your plumbing system remains in top condition.


Remember, while DIY can solve many problems, don’t hesitate to call A Rescue Rooter when needed. Proper plumbing maintenance not only protects your home but also provides peace of mind. A Rescue Rooter in Hamilton won’t charge you a premium for calls 24/7!


For those looking to take their plumbing knowledge to the next level, consider signing up for a local workshop or course. Many communities offer classes that cover basic plumbing skills, giving you the confidence to tackle home maintenance projects head-on. Happy plumbing!


A Rescue Rooter - 905-521-8284

October 29, 2025
Finding a pool of murky, stagnant water at the bottom of your dishwasher after a cycle is a frustrating discovery. Not only is it unsanitary, but it also means your dishes are far from clean. The good news is that a dishwasher that won't drain is a common household problem, and you can often fix it yourself with a few simple troubleshooting steps. This guide will walk you through the most frequent causes of a clogged dishwasher and how to resolve them safely. We'll also help you identify when the issue requires a professional touch. Safety First: Turn Off the Power Before you begin any inspection or repair work, your top priority is safety. Water and electricity are a dangerous combination. To avoid any risk of electric shock, you must disconnect the dishwasher from its power source. You can do this by either unplugging the unit from the wall outlet, which is often located under the sink, or by switching off the dedicated circuit breaker for the dishwasher in your home's electrical panel. Once the power is off, you can safely proceed with your investigation. Common Causes for a Dishwasher Not Draining Most drainage issues stem from a simple blockage. By checking a few key areas, you can usually locate and clear the obstruction without needing special tools. 1. Check for a Clogged Filter Your dishwasher's filter is designed to catch food particles, debris, and other small objects to prevent them from clogging the drain system. Over time, this filter can become blocked, stopping water from draining properly. Locate the Filter: The filter is typically a cylindrical component found on the floor of the dishwasher, usually beneath the lower spray arm. You may need to remove the bottom rack to access it. Remove and Clean: Most filters can be removed by twisting them counter-clockwise. Once removed, take it to the sink and wash it thoroughly with warm, soapy water. Use a soft brush to gently scrub away any stubborn food residue. Inspect the Sump: With the filter removed, check the area underneath it (the sump) for any larger pieces of debris that might be causing a blockage. Reinstall: Once clean, securely place the filter back into its housing. Running the dishwasher without the filter can lead to more serious damage to the pump and drain lines. After cleaning the filter, run a short rinse cycle to see if the problem is resolved. 2. Inspect the Drain Hose The drain hose is a flexible, ribbed tube that carries wastewater from your dishwasher to the garbage disposal or the main drain pipe under your sink. Kinks or clogs in this hose are another frequent reason for drainage failure. Look for Kinks: Visually inspect the entire length of the hose that runs from the dishwasher to the sink's plumbing. Ensure it isn't bent, twisted, or pinched behind the appliance or under the sink. Straightening out a kink is often all it takes to fix the issue. Check for Clogs: If there are no visible kinks, the hose itself may be clogged. Place a bucket or pan under the connection point at the sink, and disconnect the hose. Allow any trapped water to drain into the bucket. Clear the Hose: Carefully inspect both ends of the hose for blockages. You can try to dislodge any clogs by gently blowing through the hose or by using a plumber's snake to clear the obstruction. Once clear, reattach it securely. 3. Clear the Garbage Disposal Many dishwashers drain directly into the garbage disposal. If the disposal is clogged with food waste, it will prevent water from the dishwasher from draining away. Run the Disposal: Before starting a dishwasher cycle, always run your garbage disposal with cold water for about 30 seconds to ensure it's clear. Check the Knockout Plug: If your dishwasher is newly installed, the installer may have forgotten to remove the knockout plug inside the disposal's dishwasher connection nipple. To check this, you'll need to disconnect the drain hose from the disposal and feel inside the nipple for a plastic plug. If it's there, carefully knock it out with a screwdriver and hammer, then retrieve the plastic piece from the disposal. 4. Examine the Air Gap Some plumbing codes require an air gap, which is a small cylinder-shaped fixture located on your countertop near the sink. Its purpose is to prevent contaminated drain water from siphoning back into your dishwasher. Like other components, it can get clogged. Remove the Cover: Pull off the metal or plastic cover of the air gap. Clean Inside: Underneath, you'll see a smaller plastic cap. Remove it and clean out any food particles or grime that have built up inside. A small brush or pipe cleaner can be very effective. Test the Drain: Once clean, reassemble the air gap and run a rinse cycle on your dishwasher. When to Call a Professional Plumber While these DIY steps can solve many drainage problems, some issues are more complex and require professional expertise. You should consider calling a plumber if: You've tried all the troubleshooting steps above and the dishwasher still won't drain. You suspect the problem lies with the dishwasher's drain pump or motor, which are more difficult and risky to repair. The issue appears to be related to your home's main plumbing lines rather than just the dishwasher. You are not comfortable performing any of the inspection or cleaning steps yourself.  Attempting complex repairs without the proper knowledge can lead to further damage to your appliance or even cause water damage to your kitchen. Get Expert Help from A Rescue Rooter Don't let a clogged dishwasher disrupt your routine. If you're facing a stubborn drainage issue or prefer to leave the work to an expert, the team at A Rescue Rooter is here to help. Our professional plumbers have the tools and experience to quickly diagnose and resolve any plumbing problem, from a simple clog to a complex repair. We ensure the job is done right, so you can get back to enjoying the convenience of a fully functional dishwasher.
September 23, 2025
An unexpectedly high water bill can be a shock. While water rates can fluctuate, a sudden spike often points to a different problem: excess water usage. The good news is that you have significant control over how much water your household consumes. By adopting a few mindful habits and making smart upgrades, you can lower your environmental impact and save money. This guide will walk you through practical ways to conserve water at home, from simple behavioral changes to identifying hidden leaks. We will explore how to make your kitchen and bathroom more efficient, how to handle outdoor water use, and what to do when you suspect a bigger problem.
A young man in an apron examines a toilet in a showroom setting.
By Robbie Balla August 12, 2025
Common Toilet Issues and How to Fix Them
Show More