How To Unclog a Sink in 5 Easy Steps

Chelsey Smith • April 5, 2024

Dealing with a clogged sink is one of those household chores that seem to strike at the most inopportune times — like when you're running late in the morning, or during a bustling dinner party. The water takes ages to drain or, worse, it doesn’t drain at all. What do you do?


Whether it’s caused by excess hair, grease, or soap scum, a clogged sink is not only a nuisance but can also be a health hazard and lead to water damage if not managed promptly. But fear not, in this guide we'll walk you through the simple steps to take back control of your drain.


Understanding the Signs of a Clogged Sink

Before you roll up your sleeves, it's important to know the culprits. Pay attention to the signs — is the water draining slower than normal? Does it back up into the sink? Perhaps you hear gurgling sounds when the water is trying to go down.


These symptoms indicate you’re approaching a clog, or might already be there. Being proactive and addressing these issues promptly can prevent further damage.


Tools and Materials Needed

Unclogging your sink shouldn't require a PhD in plumbing. Basic tools and some easily obtainable materials are all you need. Here's what you should have ready:

  • A sink plunger
  • A plumber's snake/augers
  • Baking soda
  • Vinegar
  • Boiling water
  • Rubber gloves
  • A bucket
  • A sponge or cloth
  • Adjustable wrench (for P-trap removal)


Make sure you're familiar with the operation of these tools before you begin. Safety should always come first, especially when it involves sharp objects and hot liquids.


The Step-by-Step Guide


Step 1: Clearing the Area and Preparing the Sink

Before you start plunging or dismantling any parts, ensure the area is clear. Remove any objects from around the sink that could interfere with your work. If you've got a double-basin kitchen sink or one with a secondary container, block the unclogged portion with a stopper or a damp cloth to ensure proper suction when you plunge.


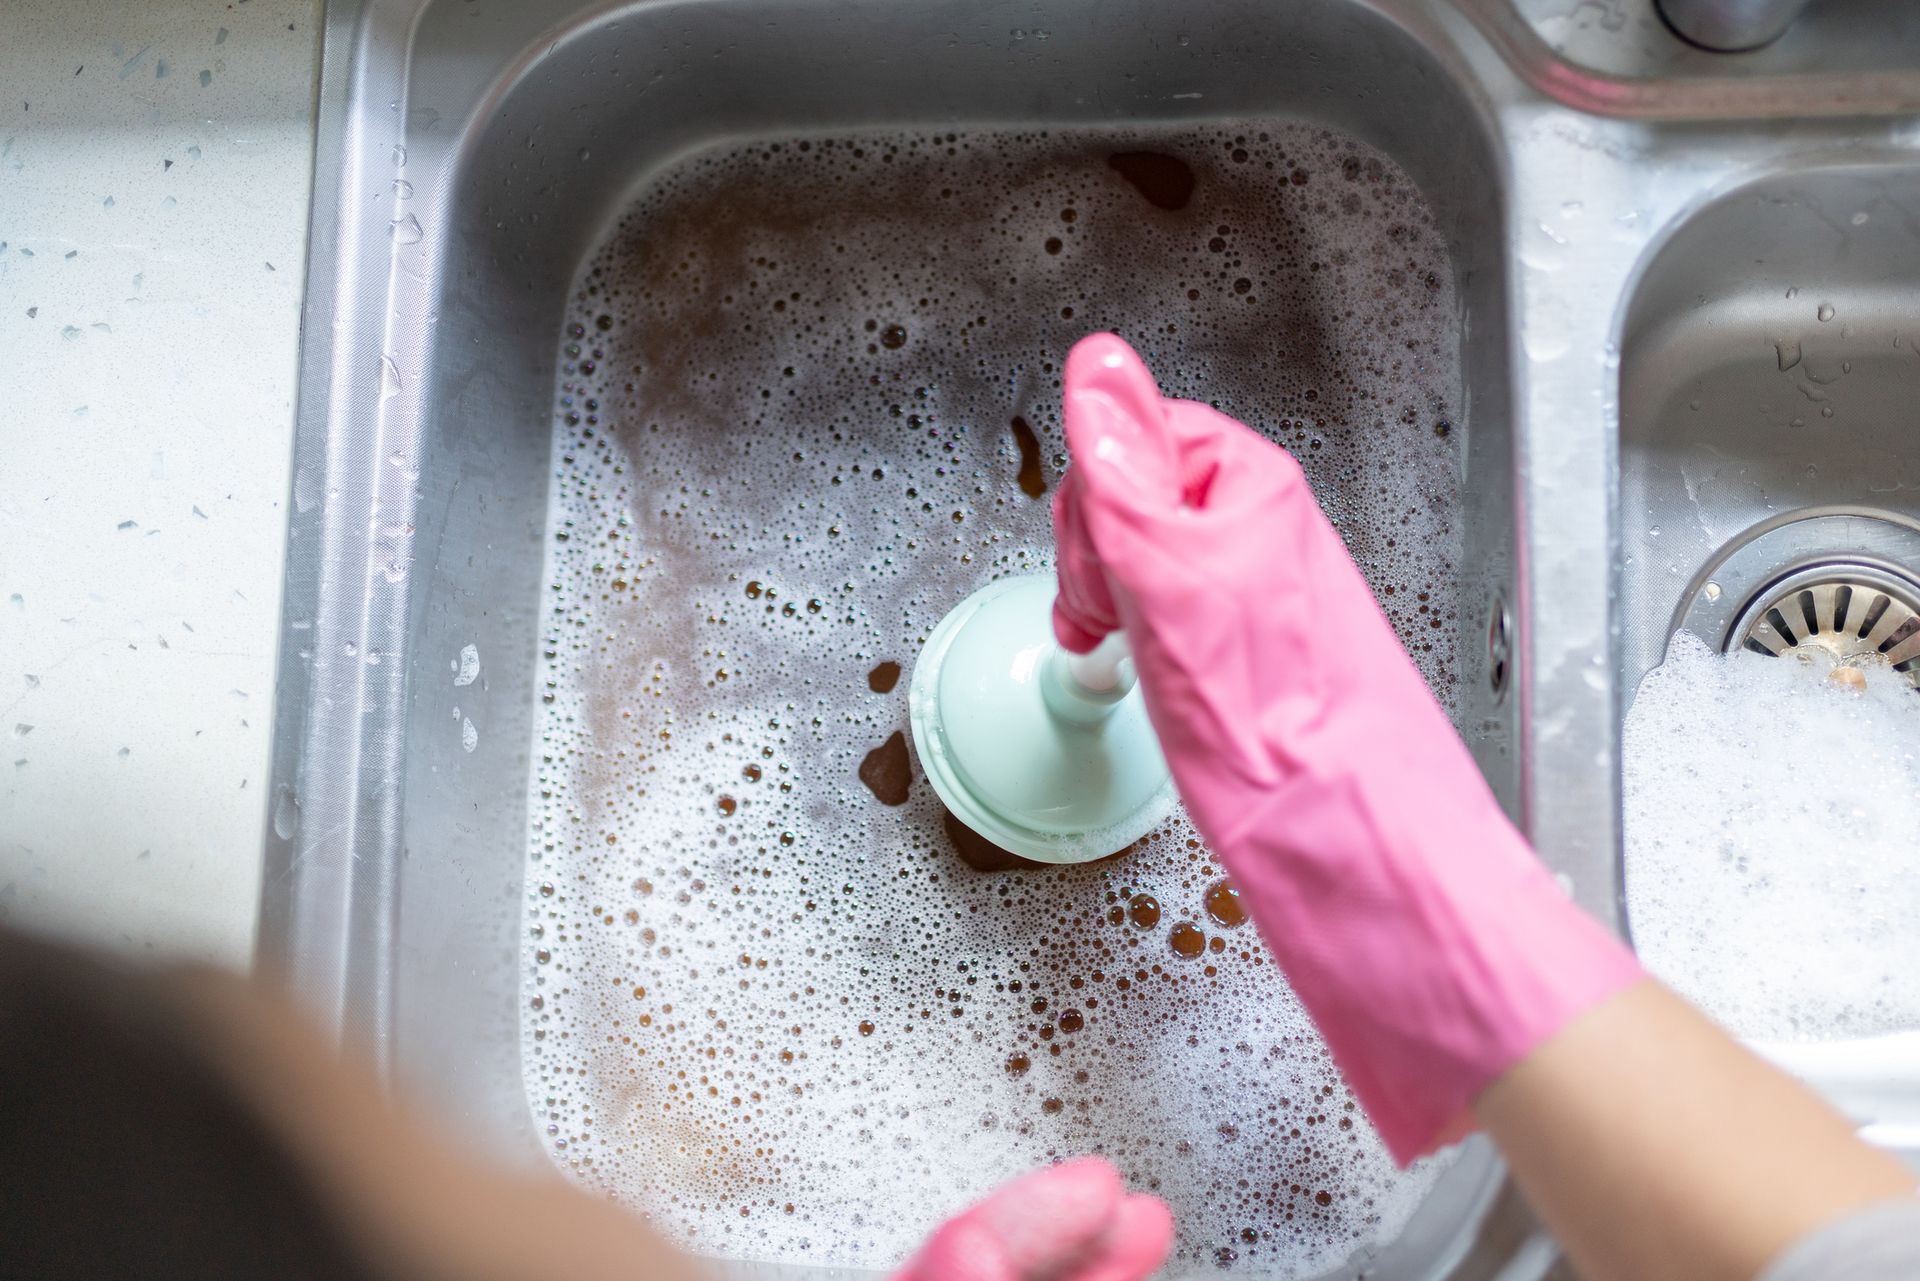
Step 2: Using a Plunger to Unclog the Sink

A sink plunger is slightly different from a toilet plunger — it has a flat bottom and a narrower profile. It's your first line of defense against a clog in most cases. Here's how to use it effectively:

  • Fill the sink with a few inches of water to create a seal around the plunger.
  • Position the plunger over the drain, ensuring it forms a tight seal.
  • Plunge up and down rapidly several times, maintaining the seal.
  • Check to see if the water begins to drain. If it doesn't, repeat the process a few times.


Step 3: Applying Natural Solutions for Unclogging

If plunging doesn’t do the trick, it’s time to switch to household remedies:

  • Pour a pot of boiling water down the drain to dissolve some of the blockage.
  • Create a mixture of one part baking soda to one part vinegar and pour it down the drain, using the solution's fizzing action to dislodge the clog. Afterward, pour hot water to flush it away.

Be patient with these solutions — they're often effective, but might need time to work, especially on tougher clogs.


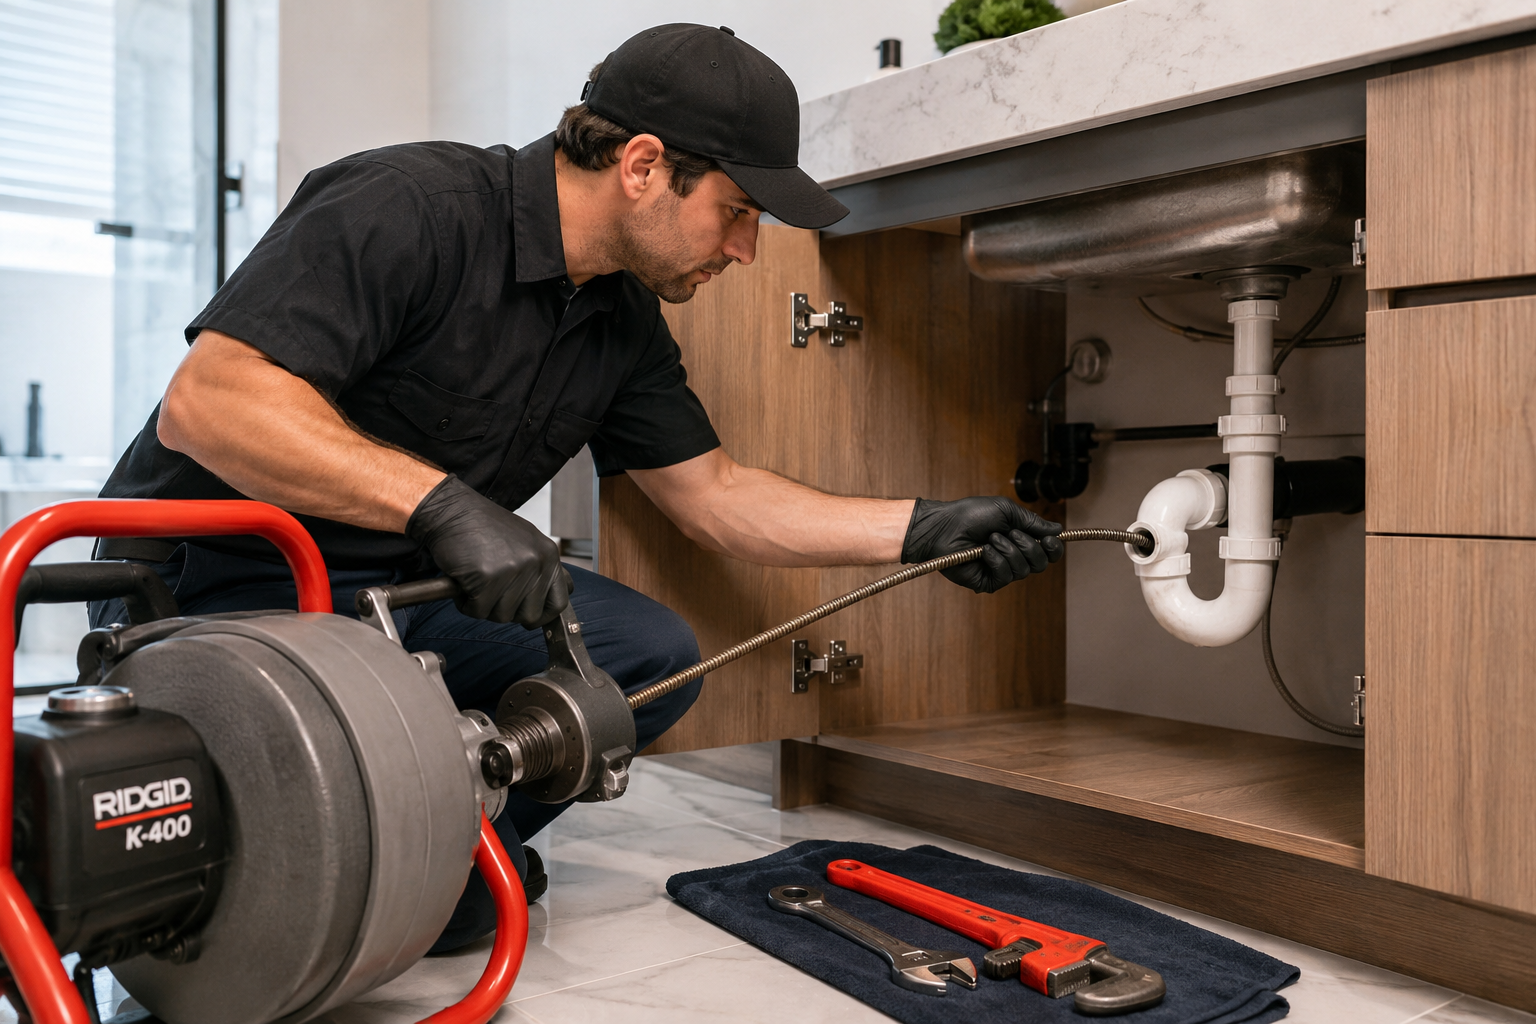
Step 4: Checking and Clearing the P-Trap

The P-trap is the curved section of pipe under the sink. It’s common for it to collect debris over time. To clear the P-trap:

  • Place a bucket or pan under the P-trap to catch any water and debris.
  • Use an adjustable wrench to loosen the slip nuts that hold the P-trap in place.
  • Once removed, clear out any visible obstructions with a gloved hand or a long brush.
  • Reassemble the P-trap and run water to check if the problem is fixed.


Step 5: Preventing Future Clogs

The best way to cope with sink clogs is to stop them from happening in the first place:

  • Use strainers to catch hair and debris in the bathroom.
  • Never pour grease or oils down the kitchen sink — always dispose of them in the trash or collect them for recycling.
  • Regularly flush your drains with hot water to prevent build-up.


When to Call a Professional

Sometimes, despite your best efforts, a clog may be deep in the pipes or there could be a more serious issue at play. If you're dealing with recurrent clogs, if multiple sinks are affected, or if you’ve tried several methods with no luck, it might be time to call in a professional Hamilton plumber. Rescue Rooter has the expertise and equipment to diagnose and resolve the issue safely and effectively.


Ensuring your sink is free-flowing is essential for a smoothly functioning home. Regular maintenance and prompt attention to clogs can save you both time and money, while keeping your plumbing in good shape. We hope this guide helps you regain control over your sink drainage. Remember to be cautious and, if in doubt, don't hesitate to seek professional help when it comes to clogged sink repairs in Hamilton.


Mastering the art of home maintenance can seem daunting, but with each challenge you tackle, you become more capable and in tune with your living space. Happy plunging, and here's to never having a sink clog get the best of you again.


To further empower your home management skills, check out other insightful guides on our blog. And if you've got more unclogging wisdom to share, we'd love to hear about it in the comments section below! Contact us today for all of your plumbing issues today!


By Chelsey Smith April 24, 2026
When a pipe bursts or a drain backs up, most people panic and call the first name they find online. But choosing the wrong plumber can cost you far more than the original problem. If you’re searching for reliable Hamilton plumbers , knowing what to look for can save you time, money, and serious stress. Here’s how to confidently choose a reputable plumber and make sure they’re properly licensed.
By Chelsey Smith April 2, 2026
When a drain backs up, panic often sets in—but before you reach for harsh chemicals or call it a lost cause, a simple plunger can often do the trick. Knowing how to use the right type of plunger—and how to use it correctly—can save you time, money, and stress. In this guide, we’ll walk you through how to use both toilet and sink plungers effectively, and when it’s time to call in the professionals at A Rescue Rooter in Southern Ontario.
February 27, 2026
As the snow melts and the first green shoots of spring appear, it feels natural to breathe a sigh of relief. The harsh winter is finally behind us, and warmer days are ahead. However, while you are ready to welcome the sunshine, your home’s plumbing system might be facing its most difficult challenge of the year.  The transition from freezing winter temperatures to the damp warmth of spring creates specific environmental changes that can stress your pipes. Understanding what happens beneath the ground during the "spring thaw" is the first step in protecting your home from unexpected leaks and water damage. By staying vigilant and knowing what to look for, you can ensure your plumbing transitions into the new season as smoothly as you do. How the Spring Thaw Affects Your Plumbing It is easy to assume that the danger to your pipes passes once the sub-zero temperatures vanish. In reality, the thawing process can be just as damaging as the freezing process. When the ground freezes, it expands. As it thaws, the soil contracts and shifts. This movement can put immense pressure on your home's water and sewer lines buried underground. If the earth shifts too dramatically, it can cause pipes to crack, bend, or even detach completely. Additionally, the spring thaw brings water—lots of it. Melting snow saturates the soil, raising the water table. This excess water puts hydrostatic pressure on your foundation and pipes, potentially leading to basement flooding if your drainage systems aren't working perfectly. Common Signs of Pipe Damage Because much of your plumbing is hidden behind walls or buried underground, you might not notice an issue until it becomes a significant problem. Keep a close eye on your property this season for these tell-tale signs of distress: 1. Soggy patches in the yard If it hasn't rained recently, but you notice distinct wet, spongy, or unusually green patches of grass in your yard, this could indicate a leak in your underground water line. The escaping water rises to the surface, creating a localized swamp. 2. Low water pressure A sudden drop in water pressure throughout the house is often a symptom of a breach in the main line. If the water isn't reaching your faucets with the usual force, it may be escaping somewhere else along the route. 3. Unpleasant odors If your sewer line has been compromised by shifting soil or infiltrating tree roots (which become active in spring), you may smell sewage inside your home or out in the yard. This is an urgent issue that requires immediate attention. 4. Unexpectedly high water bills Sometimes the signs are financial rather than physical. If your water usage hasn't changed but your bill has spiked, water is likely leaking from a pipe somewhere on your property. Preventive Measures for Homeowners While you cannot control the weather or the shifting soil, there are several steps you can take to minimize the risk of damage during the spring thaw. Test your sump pump: This is your first line of defense against meltwater. Pour a bucket of water into the sump pit to ensure the pump activates and drains the water effectively. If it doesn't, you need to repair or replace it before the heavy spring rains arrive. Clear your gutters and downspouts: Ensure that melting snow and spring rain can flow freely away from your home’s foundation. Clogged gutters can cause water to pool around the base of your house, increasing pressure on basement pipes and the foundation. Check outdoor faucets: Once the threat of frost is truly gone, turn on your outdoor spigots to check for flow. If you place your thumb over the opening and can stop the flow of water, the pressure is too low, indicating a potential leak inside the pipe. When to Call the Professionals Plumbing issues can be stressful, and it is often difficult to know if a problem is a simple DIY fix or a professional emergency. We understand that your home is your sanctuary, and dealing with water damage is disruptive and upsetting. If you notice persistent low pressure, damp spots on your drywall, or standing water in your yard, it is time to call for help. Attempting to dig up underground pipes or fix complex sewer lines on your own can often lead to further damage and higher costs. At Rescue Rooter, we have the specialized equipment to inspect underground lines without destroying your yard. Our team can identify cracks caused by the spring thaw and provide efficient, lasting solutions. We are here to help restore your peace of mind so you can get back to enjoying the warmer weather. Enjoying a Worry-Free Spring Spring should be a time of renewal and enjoyment, not a time spent worrying about wet basements or broken pipes. By keeping an eye out for the signs of shifting soil and testing your drainage systems early, you can catch small issues before they become major headaches. And remember, if the thaw does bring unexpected plumbing challenges, you don't have to face them alone—Rescue Rooter is just a phone call away.
Show More