How To Know When It's Time For a New Toilet?

Chelsey Smith • April 3, 2024

How to Know When It’s Time for a New Toilet

For most homeowners, the humble toilet is an afterthought—an essential yet often overlooked fixture that silently serves us day in and day out. However, there comes a point when even the most diligent maintenance can't stave off the inevitable: the need for a new throne. Whether it's due to age, persistent issues, or a desire to save water and lower those monthly bills, determining when to wave goodbye to your current commode isn't always straightforward. This in-depth guide will help you recognize the signs that it’s time for a toilet upgrade and walk you through the process of selecting and installing a new one.


Recognizing the Signs


Your Toilet is Overworked and Underperforming

It may come as a surprise, but the average toilet flushes about 2,000 times a year, with each flush accounting for about 30% of indoor water usage. If your toilet is frequently clogging, running constantly, or you find yourself needing to double flush, it could be a sign that your toilet is past its prime and is not performing efficiently.


Leaks and Water Damage

Leaky toilets are not only a nuisance but also a potential source of significant water damage. Common signs of leaks include a toilet that perpetually seems to be running, water pooling around the base, or even the wobble of the fixture. Over time, these problems can lead to mold and mildew growth or deterioration of the flooring around the toilet.


A Cracked Dilemma

Cracks in the ceramic of your toilet can be hard to detect at first. Often beginning as hairline fractures, they can worsen with each use. Cracks commonly occur in the tank or the bowl and can lead to leaks or a complete breakage of the toilet, so it's best to address this issue promptly.


Age-Related Wear and Tear

While the lifespan of a toilet can vary depending on factors like usage and maintenance, the typical toilet lasts about 50 years. If your toilet is approaching or has surpassed this milestone, it's likely that various components, such as the flapper, fill valve, or flush handle, are reaching the end of their life.


The Efficiency Factor: New Toilets and the Environment


Water-Wise Toilets

The Environmental Protection Agency (EPA) estimates that older toilets can use between 3.5 to 7 gallons of water per flush, whereas newer, high-efficiency toilets use 1.28 gallons or less. Upgrading to a water-saving model not only conserves a precious resource but can also decrease your water bill by as much as $2,200 over the toilet's lifespan.


Dual-Flush Technology

Dual-flush toilets offer the best of both worlds, providing a full flush for solid waste and a reduced flush for liquids. This innovative design can save even more water, with some models using as little as 0.8 gallons for a liquid flush.


Choosing Eco-Friendly Materials

Beyond water efficiency, it's essential to consider the materials used in your new toilet. Look for options made from sustainable or recycled materials that are not only environmentally friendly but also durable and long-lasting.


Selecting the Perfect Potty


Toilet Size and Shape

Toilets come in a variety of sizes to accommodate different bathroom layouts. Measure the rough-in distance (the distance from the wall to the center of the drain) to ensure you choose a toilet that fits properly. You'll also need to decide between a round or elongated bowl, with the latter providing additional comfort for most users.


Flushing Power and Mechanism

The flush is the workhorse of any toilet, so selecting the right one is critical. Gravity-fed flushes are reliable and quiet, while pressure-assist flushes offer higher performance for larger waste volumes. Consider touchless or quiet-close features for added convenience.


Style and Design

A new toilet is an opportunity to update the look of your bathroom. Choose a style that complements your existing decor, whether it's modern, traditional, or a unique design that expresses your personality.


Comfort and ADA Compliance

For optimal comfort, look for toilets that are the right height for you and your family. To be ADA compliant, the seat height should be between 17 and 19 inches, which makes sitting and standing more accessible for those with mobility issues.


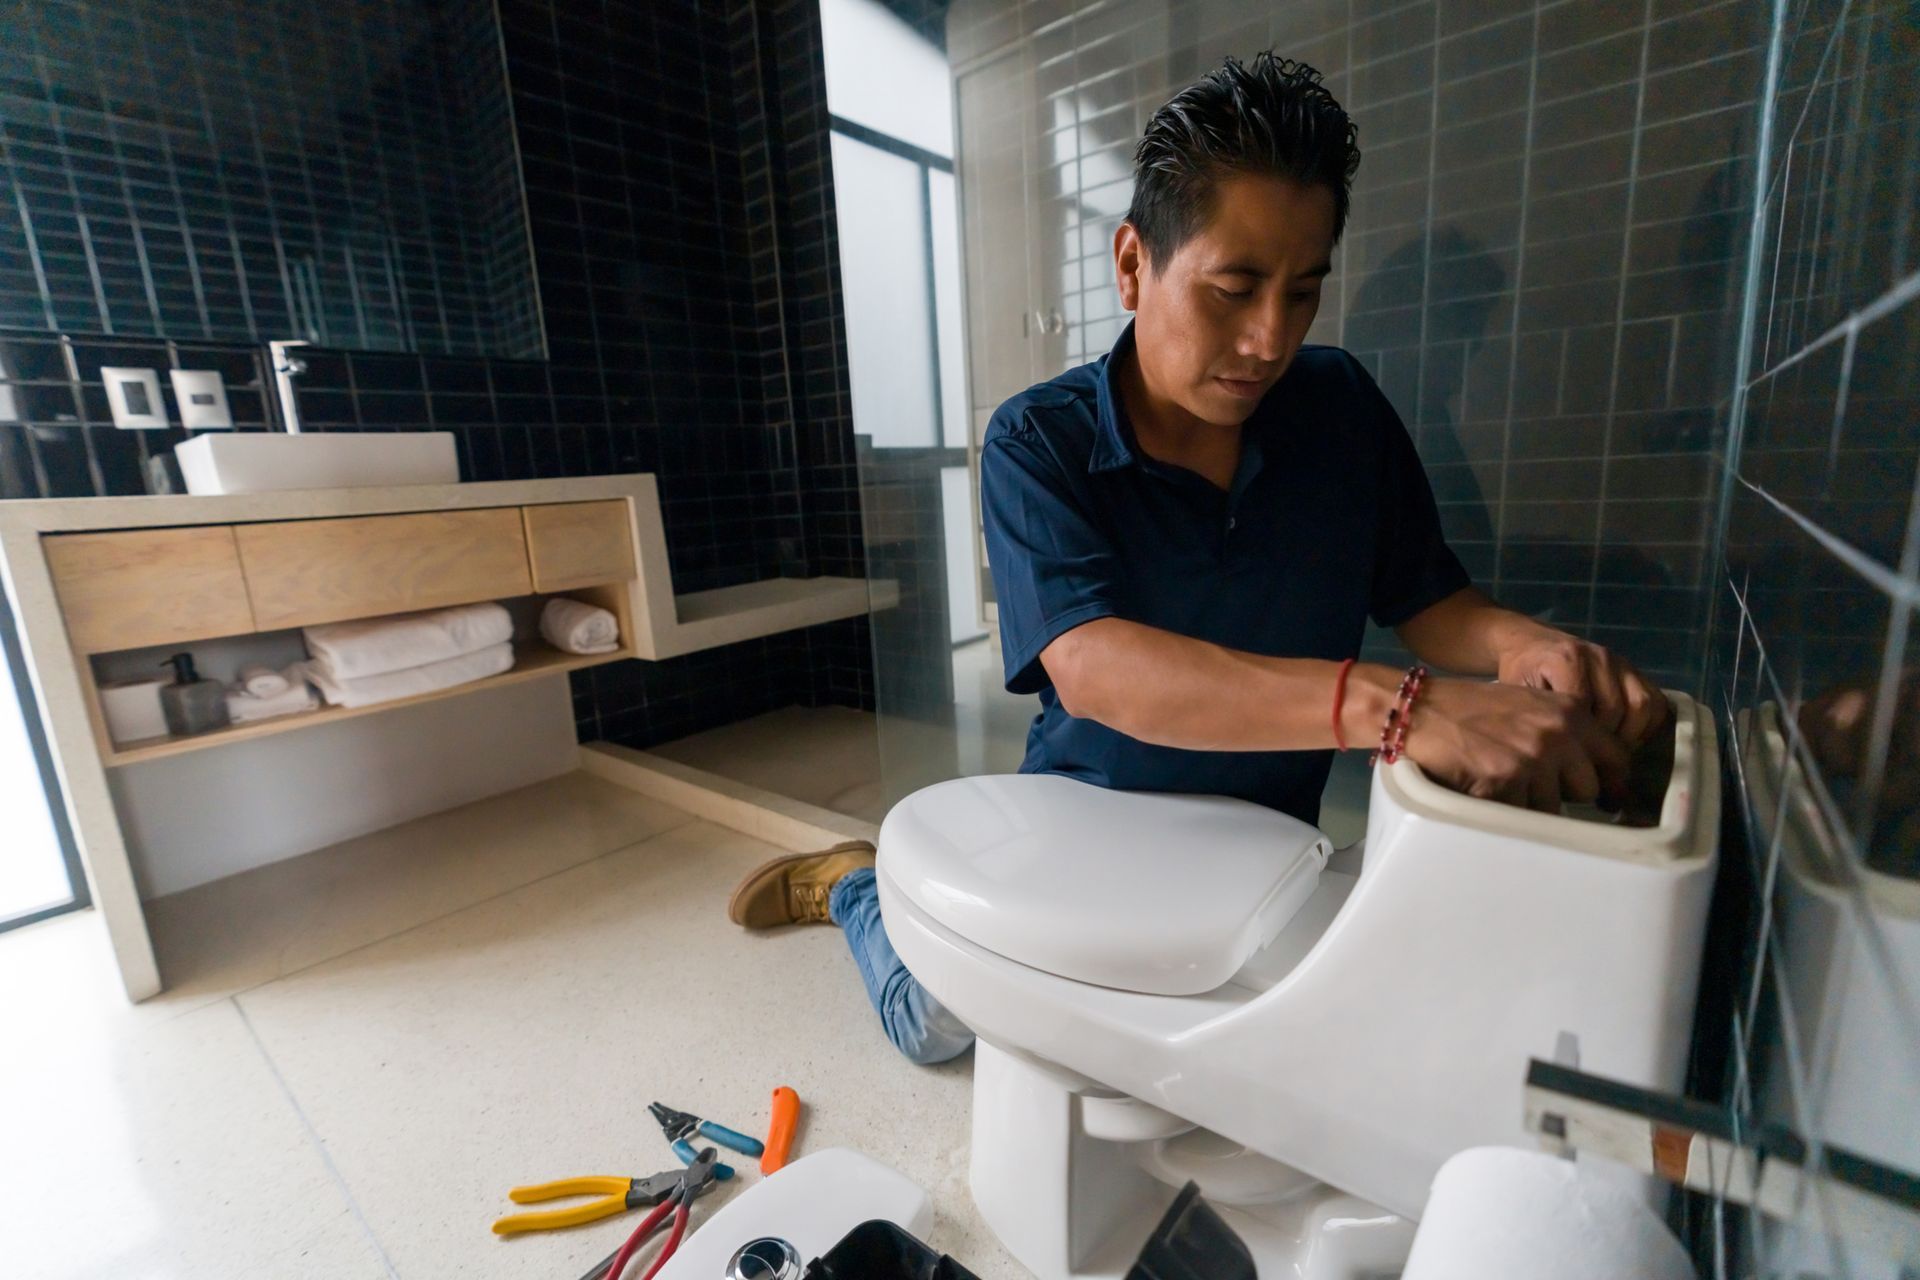
DIY or Professional Installation?


The DIY Approach

Replacing a toilet can be a straightforward DIY project for those with some plumbing experience. Be prepared with the necessary tools and materials, including a new wax ring, closet bolts, and a wax ring alternative for the floor if it's not compatible with wax.


When to Call a Pro

If you're uncomfortable with even the basics of plumbing or if problems arise during the installation, it's best to call in a professional Hamilton plumber. A plumber can quickly and safely install your new toilet, ensuring everything is correctly set up and that there are no leaks.


Maintaining Your New Throne


Clean Your Toilet Regularly

Maintaining a regular cleaning schedule for your toilet can prevent the buildup of limescale, mold, and other hard-to-remove stains. Use a non-abrasive cleaner and soft brush to protect the porcelain's finish.


Check for Leaks and Damage

Periodically inspect the area around your toilet for any signs of leaks or water damage. Also, listen for any running water or periodic refills in the tank, indicating a leak that's affecting your toilet's performance.


Consider a Water Softener

If you live in an area with hard water, a water softener can help extend the life of your toilet by reducing mineral deposits that can cause clogs and damage to the flushing mechanism.


Know When it's Time to Replace Again

Keep an eye on the performance and condition of your new toilet. Be mindful of the same signs you looked for in your old toilet, such as frequent clogging or leaks, and be prepared to take action when needed.


The decision to replace your toilet can be based on a variety of factors, from functionality to environmental impact and aesthetics. By recognizing the signs, understanding the benefits of a more efficient model, selecting the right fit for your home, and knowing when to seek professional help from Rescue Rooter, you can ensure a smoother transition to a new toilet. Remember, proper maintenance is the key to a long and efficient toilet life, so make it a part of your home care routine.


Homeowners contemplating a toilet upgrade should carefully consider the long-term value and impact of their decision. With the right approach, you can turn a seemingly mundane household fixture into a statement on practicality, efficiency, and environmental stewardship. Don't wait until disaster strikes—be proactive and plan your toilet replacement for a future flush with success.


January 31, 2026
Winter brings cozy nights and festive cheer, but it also carries the risk of a messy and expensive household problem: frozen pipes. When water freezes, it expands, putting immense pressure on your plumbing. This can lead to burst pipes, significant water damage, and costly repairs. Understanding how to protect your home before a cold snap and what to do if a pipe freezes is essential for every homeowner. Proactive Steps to Prevent Frozen Pipes The best way to deal with a frozen pipe is to prevent it from ever happening. A little preparation before temperatures plummet can save you a lot of stress and money. Focus on areas of your home where pipes are most vulnerable, such as basements, crawl spaces, attics, garages, and exterior walls. Insulate Vulnerable Pipes Insulation is your first line of defense. It slows the transfer of heat, keeping the water inside your pipes from reaching freezing temperatures. Pipe Sleeves: You can find foam or fiberglass pipe sleeves at any hardware store. They are inexpensive and easy to install. Simply cut them to size and wrap them around exposed pipes. Secure them with tape for a snug fit. Heat Tape: For pipes in extremely cold areas, consider using electrical heat tape or heat cables. These products wrap directly around the pipe and have a built-in thermostat that turns the heat on when the temperature drops, providing consistent protection. Seal Air Leaks: Cold air infiltration is a major contributor to frozen pipes. Use caulk or insulation to seal any cracks or holes in your foundation, walls, and around windows, especially where pipes enter your home from the outside. Keep the Water Moving Even a small trickle of water can be enough to prevent a pipe from freezing solid. When an arctic blast is in the forecast, take these simple steps. Let Faucets Drip: Open the faucets connected to vulnerable pipes just enough to let a slow, steady drip of both hot and cold water flow. This moving water is much harder to freeze. Open Cabinet Doors: Pipes under kitchen and bathroom sinks are often located in unheated cabinets against exterior walls. By leaving the cabinet doors open, you allow warmer air from your home to circulate around the plumbing, keeping them warmer. Maintain a Consistent Temperature Your home's overall temperature plays a crucial role in protecting your plumbing system. Set Your Thermostat: Keep your thermostat set to a consistent temperature both day and night. While you might be tempted to lower it at night to save on heating bills, the extra cost is minimal compared to the expense of a burst pipe repair. Winterizing Your Home: If you plan to be away for an extended period during the winter, never turn your heat completely off. Set the thermostat to at least 55°F (13°C) and consider asking a friend or neighbor to check on your house periodically. What to Do If Your Pipes Freeze Sometimes, despite your best efforts, a pipe may freeze. The first sign is usually a trickle of water—or no water at all—coming from a faucet. If you suspect a frozen pipe, you need to act quickly. Step 1: Locate the Frozen Pipe Your first task is to identify the frozen section of pipe. Start by turning on all the faucets in your house. If one is not working, the frozen area is likely located between that faucet and the main water supply. Look for pipes in unheated areas or along exterior walls. A visible layer of frost or a slight bulge in the pipe can also indicate a freeze. Step 2: Thaw the Pipe Safely Once you've found the frozen section, you can begin the thawing process. The key is to apply heat gradually and safely. Open the Faucet: Before you start thawing, make sure the faucet connected to the frozen pipe is open. This allows melting water and steam to escape, relieving pressure inside the pipe. Apply Gentle Heat: Use a hairdryer on a low setting, a portable space heater (kept a safe distance away), or heating pads designed for this purpose. Start near the faucet end of the blockage and work your way back toward the frozen area.  Never Use an Open Flame: Do not use a blowtorch, propane heater, or any other open-flame device to thaw a pipe. This is extremely dangerous, as it can damage the pipe and create a serious fire hazard. Step 3: Check for Leaks As the pipe thaws, water flow should be restored. Keep a close eye on the entire length of the pipe you just thawed. The expansion from the ice may have created cracks that will begin to leak as the water melts. If you spot a leak, shut off the main water supply to your home immediately to prevent water damage. When to Call a Professional While some minor freezes can be handled on your own, certain situations require expert intervention. A burst pipe is a plumbing emergency that demands immediate professional help. If you are unable to locate the frozen pipe, if the pipe is not accessible, or if your efforts to thaw it are unsuccessful, it’s time to call for help. Attempting complex repairs without the right tools or experience can lead to bigger problems. The pros at A Rescue Rooter specialize in emergency plumbing services, including frozen and burst pipe repairs. Our experienced technicians have the advanced tools needed to quickly locate and safely thaw frozen pipes, even those hidden behind walls. We can assess the situation, repair any damage, and help you implement long-term solutions to prevent future freezes. Don't let a frozen pipe turn into a disaster. A Rescue Rooter is available 24/7 to provide fast, reliable service when you need it most.
December 22, 2025
A small drip from a faucet is easy to spot, but what about the leaks you can't see? Hidden water leaks can silently cause significant damage to your home’s structure, promote mold growth, and lead to shockingly high water bills. Knowing how to spot the signs of these elusive leaks is a crucial skill for any homeowner. This guide will walk you through practical methods for detecting hidden water leaks and explain why acting fast is so important. Why You Must Address Leaks Immediately Ignoring a potential water leak is a gamble you don't want to take. Even a small, slow drip can have major consequences over time. Water can weaken wooden beams, crumble drywall, and damage your home's foundation. The persistent moisture creates a perfect environment for mold and mildew, which can pose health risks to your family. Beyond structural damage, the financial cost is twofold. First, your water bill will increase as you pay for water you aren't even using. Second, the repair costs for water damage are often far more expensive than the cost of fixing the leak itself. A simple plumbing repair can turn into a massive renovation project if left unchecked. Simple Ways to Find Hidden Leaks You don't need to be a professional plumber to start the search for a hidden leak. With a little observation and a few simple checks, you can often identify a problem before it gets out of hand. Check Your Water Meter Your water meter is one of the most reliable tools for leak detection. It measures all the water flowing into your home, so any unexpected activity can point to a leak. How to perform a meter test: 1. Turn off all water: Make sure no faucets are running, toilets aren't flushing, and appliances like the dishwasher or washing machine are off. 2. Locate your water meter: It's usually in a box near the curb or in a basement or utility area. 3. Check the leak indicator: Most modern meters have a small triangle, dial, or wheel that moves when water is flowing. If this indicator is spinning, even slowly, you likely have a leak somewhere in your system. 4. Note the reading: If your meter doesn't have a leak indicator, write down the numbers on the dial. Wait one to two hours without using any water, then check the reading again. If the numbers have changed, water is escaping somewhere. Scrutinize Your Water Bill Your monthly water bill provides a clear record of your usage. A sudden, unexplained spike is a major red flag. Compare your recent bills to previous months or the same period from last year. If your habits haven't changed but your usage has dramatically increased, it’s time to investigate. Many utility companies even provide daily or hourly usage data online, which can help you pinpoint when the excess water use is happening. Inspect Your Home's Interior Your walls, ceilings, and floors can offer visual clues of a hidden leak. Take a walk through your home and look for these signs: ● Discoloration or Stains: Yellow or brown stains on ceilings or walls are classic signs of water slowly seeping through. ● Peeling or Bubbling Paint: Moisture behind a wall will cause paint or wallpaper to peel, bubble, or blister. ● Warped Surfaces: Look for warped walls, sagging ceilings, or buckled flooring, especially around bathrooms, kitchens, and laundry rooms. ● Musty Odors: A persistent damp, earthy smell often indicates mold or mildew growth, which thrives in areas with hidden moisture. Listen for Unusual Sounds Sometimes, you can hear a leak before you can see it. During a quiet time in your home, like late at night, listen carefully for sounds coming from your walls. A dripping, hissing, or rushing sound when all faucets are off is a clear signal that water is running where it shouldn't be. Pay close attention to the areas where your main water line enters the house and around major plumbing fixtures. Don't Wait—Get Professional Help Finding a hidden leak can feel overwhelming, but you don't have to handle it alone. While these DIY tips can help you confirm a problem exists, locating the exact source and repairing it often requires professional expertise and equipment. A delayed response only makes the problem worse and more expensive to fix. At A Rescue Rooter, our experts are equipped with advanced leak detection technology to find the source of the problem quickly and accurately, without causing unnecessary damage to your home. We understand that plumbing emergencies don't stick to a 9-to-5 schedule. That’s why we are available 24/7 to help you.  Best of all, you can call us anytime without worrying about extra fees. A Rescue Rooter never charges a premium for after-hours, weekend, or holiday service. When you have a leak, you need help fast. We’re here to provide it, day or night. Contact us to get your leak fixed and your home protected.
November 30, 2025
This is a subtitle for your new post
Show More