Blog Post

Why Do We Run Out of Hot Water So Quickly?

Chelsey Smith • Feb 26, 2024

For many of us, a piping-hot shower or a long soak guarantees a tranquil oasis at the end of a hectic day. But what happens when a sudden blast of icy water unceremoniously cuts short that serenity? If you've ever pondered why the hot water seems to vanish in a flash, you’re not alone. 


The scramble to finish washing dishes, and the 'I can only wash half my hair' dance, are daily struggles for homeowners worldwide. Exploring your home's hot water system to understand common issues and mysteries that may arise.


Understanding Hot Water Systems

To fix the lack of hot water, we need to first know how your water heater works. Here we’ll break down the two main types and how they function.


1) Tank-Style Water Heaters

The trusty tank-style water heater, a staple in many homes, heats water and keeps it at a set temperature within a large tank until it's ready for use. When the tap is turned, hot water is piped to the outlet while cold water fills the tank to maintain its volume. 


The heated water at the top of the tank is then displaced by the incoming cold water, causing it to circulate and ensure a continuous supply for routine household tasks.


2) Tankless Water Heaters

Conversely, tankless, or on-demand water heaters, bypass the need for a storage tank. These systems heat water directly on-site as needed. This can offer several advantages, including energy efficiency and a seemingly endless supply of hot water, which is perfect for larger families or simultaneous hot water demands from multiple sources within the house.


Factors Affecting Hot Water Supply

A variety of factors can impact the duration of your hot water supply. Understanding these can help identify potential issues and, in some cases, optimize your system for consistent hot water flow.


1) Water Heater Capacity

The size of your water heater plays a significant role. A water heater's size is measured in gallons. A smaller tank means less hot water available before needing to reheat. If the heater isn't correctly sized for your home's hot water needs, shortages are inevitable.


2) Usage Patterns

Personal habits and household demand can lead to inconsistent hot water supply. Busy times like mornings and evenings can stress small water heaters. Using hot water randomly during the day can make it seem like there's not enough hot water.


3) Sediment Build-Up

Over time, minerals and sediment can settle at the bottom of the tank. This creates a barrier between the heating element and the water, reducing the system's efficiency. Regular maintenance is crucial to ensure your water heater can operate at its full capacity.


Tips to Extend Hot Water Supply

Now that we understand the potential pitfalls, how can we ensure hot water is there when we need it? Here are several strategies to maximize your hot water supply.


1) Setting the Right Temperature

Hotter isn't always better. Not only can scalding temperatures pose safety risks, but high settings can also deplete hot water more quickly. Adjusting your water heater to a suitable and energy-saving temperature is a simple, effective fix.


2) Regular Maintenance Tips

Regular maintenance for tank or tankless water heaters can help avoid problems that cause a lack of hot water. Each year, remember to clean the tank, check the heating elements, and look for leaks in your home's water heater.


3) Upgrading to a More Efficient System

Sometimes, the best solution is the most forward-thinking. If your water heater is showing signs of age or repetitive issues, it might be time for an upgrade. Newer, more energy-efficient models can significantly improve your hot water experience while reducing your carbon footprint.


Running out of hot water is not just a modern problem. It happens when you use up all the hot water in your home's system. To always have hot water at home, understand how your water heater works.


Be mindful of how you use hot water. Make sure to regularly maintain your water heater. It's time to bid farewell to cold-water surprises and enjoy a consistent supply of warmth and comfort in the essential corners of your home. If you're in need of a hot water tank repair, call Rescue Rooter today.


Hamilton Plumbers Ready to Help

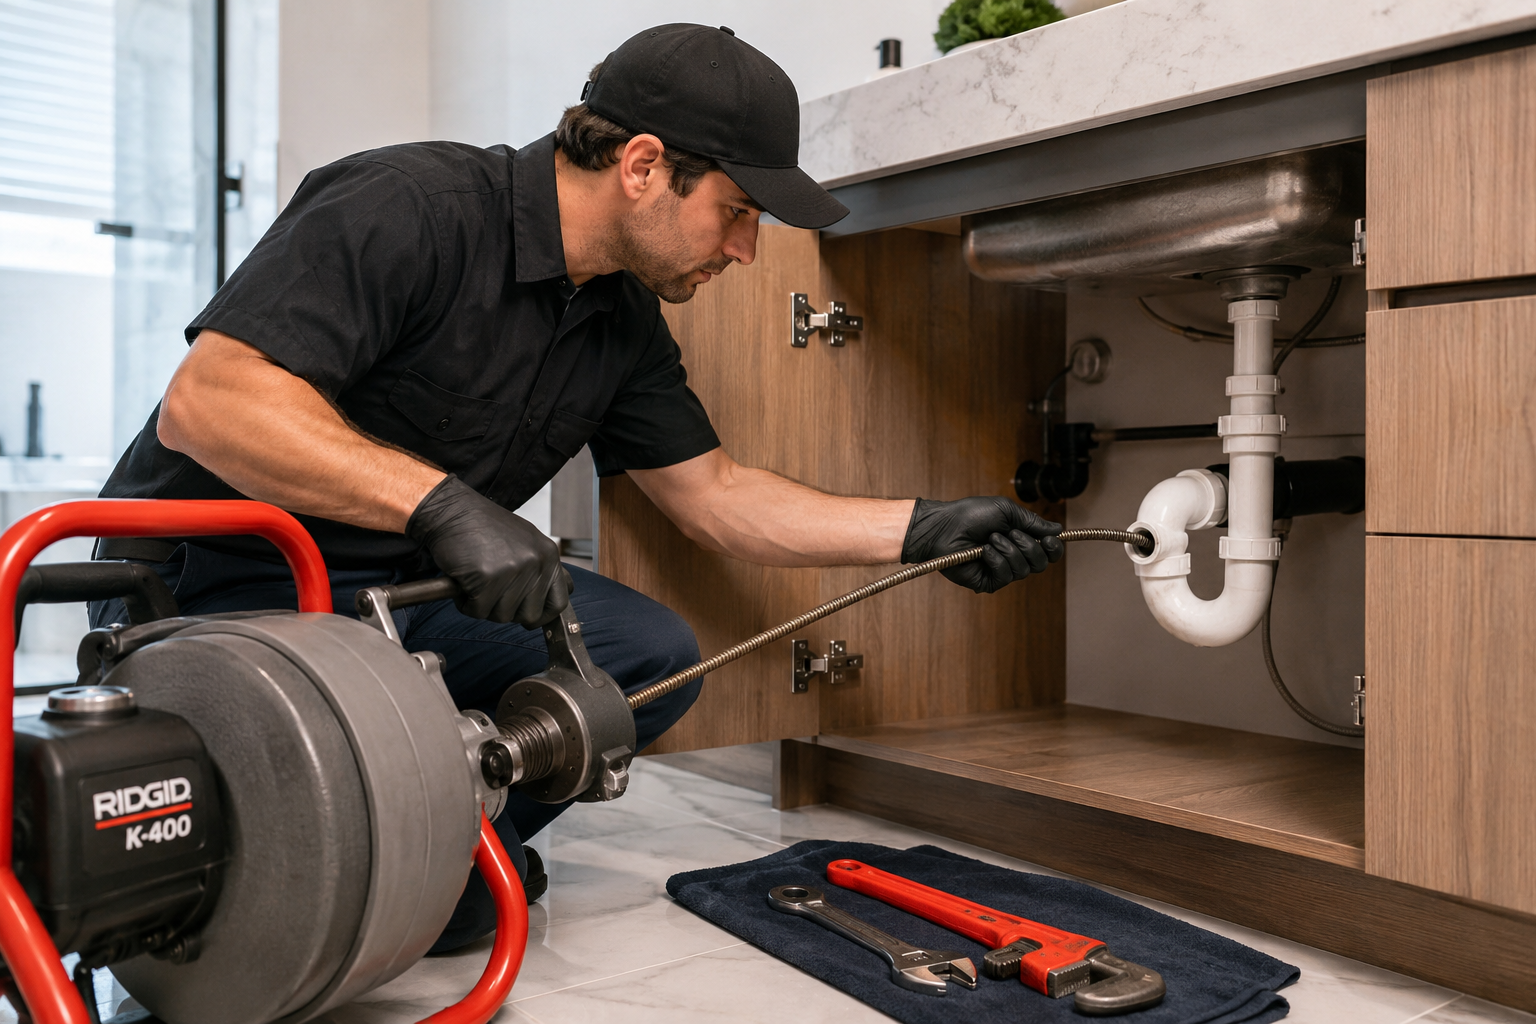
For those struggling with persistent hot water woes, local plumbing experts are your best resource. In Hamilton, Rescue Rooter's experts are ready to help with emergency repairs, maintenance, or upgrades. Just give them a call. Don't let the dread of lukewarm showers linger – reach out to a trusted Hamilton plumber for a solution that suits your specific needs.

Figuring out why your hot water disappears is important for your comfort and making sure your home's systems work well. This can save you time, energy, and the stress of having to rush through washing up.


To take care of your home, think about how long your water heater will last and how well it works. Get it fixed if necessary. With a little knowledge and foresight, you'll be well on your way to mastering the art of endless hot water.


Hamilton Plumber
By Dawn Sherwin 29 Apr, 2024
Plumbers often wish homeowners knew a bit more about the basics of plumbing to prevent common mishaps that can lead to serious issues and costly repairs. First and foremost, it’s crucial to understand what can and cannot be flushed down the toilet. Only human waste and toilet paper should go down; anything else risks clogging the system. Secondly, homeowners should be aware of the location of the main water shut-off valve. In case of emergencies, such as a major leak, knowing how to quickly turn off the water supply can minimize water damage. Lastly, regular maintenance is key to a healthy plumbing system. Simple actions, like using hair catchers in drains and avoiding pouring grease down the kitchen sink, can prevent blockages and maintain the integrity of your pipes. Another valuable tip that plumbers wish homeowners understood is the importance of not ignoring minor leaks or drips. What may seem like a small issue can rapidly escalate into a larger problem, leading to significant water loss and increased utility bills. It's better to address these issues promptly rather than waiting until they worsen. Additionally, familiarizing yourself with some basic plumbing tools can be incredibly beneficial. Knowing how to use a plunger for minor clogs or a wrench to tighten a loose pipe can save a call-out fee for simple fixes. However, it’s essential to recognize when a problem is beyond your DIY skills. Attempting complex repairs without the proper knowledge can result in further damage. When in doubt, it's always best to consult a professional plumber. Should I Prepare for a Plumber's Visit? Absolutely, preparing for a plumber's visit can significantly streamline the repair process and ensure a smoother experience. First, ensure clear access to the problem area by moving any furniture or household items that might obstruct the plumber’s path. This not only facilitates a quicker repair but also prevents any accidental damage to your belongings. Secondly, it's helpful to have a list of observed issues and any attempted fixes ready to discuss. Providing detailed information can aid the plumber in diagnosing the problem more accurately and efficiently. Additionally, consider shutting off the water supply if the issue involves leaks or overflowing water to mitigate any potential damage before the plumber's arrival. Lastly, preparing questions or concerns in advance can maximize the benefit of the professional’s visit, ensuring all your plumbing needs are addressed. Understanding the cost and time estimates upfront can also alleviate much of the stress associated with plumbing repairs. Before the plumber begins work, request a clear explanation of the charges, including any potential costs for parts and labor. The plumbers at A Rescue Rooter will be more than happy to explain their work and expected charges with you. This transparency helps in setting realistic expectations and ensures there are no surprises when it’s time to settle the bill. It’s also sensible to ask about the estimated duration of the job. Some repairs might be quick fixes, whereas others could take several hours or necessitate a follow-up visit. Knowing this in advance allows you to plan your day accordingly. Additionally, inquire about warranties or guarantees on the work performed. A reputable plumber will stand behind their work and offer assurances that if issues arise post-repair, they will be addressed. This level of service guarantees peace of mind, knowing that the investment in your home’s plumbing is protected. For any plumbing needs, the professionals at A Rescue Rooter in Hamilton are here to help 24/7. They won’t even charge a premium for an emergency. 905-521-8284
Hamilton Plumbers
By Chelsey Smith 26 Apr, 2024
Routine home maintenance might not be the most glamorous part of home ownership, but when it comes to keeping your home sweet home running smoothly, a proactive approach can make a huge difference. Plumbing , a vital part of any house, is often neglected until a dripping faucet becomes a torrent, or a clogged sink brings the family meeting to the bathroom. Learning to tackle some of the smaller plumbing issues can save you time and money—plus it's a rewarding way to connect with the inner DIYer in you. In this extensive guide, we'll walk you through five common plumbing fixes that even the most tool-phobic homeowners can handle. Fixing a Leaky Faucet Why It's Important Not only can a leaky faucet be annoying, but it can also waste hundreds of gallons of water a year, which isn't kind on your water bill. Fortunately, stopping the drip is often as simple as replacing a washer or cartridge. How To Fix a Leaky Faucet To fix a leaky faucet, you usually need to disassemble the fixture, identify the problematic part, and either clean, tighten, or replace it. Here's a step-by-step guide: Step 1: Turn Off the Water Start by turning off the water supply to your faucet. This is usually located under the sink. If you can't find the shut-off valve, you may need to turn off the main water supply to your house. Step 2: Prepare Your Work Area Place a towel in the sink to avoid damaging it and to catch any small parts that may fall during disassembly. Step 3: Disassemble the Faucet Depending on the type of faucet you have, use a Phillips screwdriver, a wrench, or both to remove the handle and the rest of the faucet. Step 4: Identify the Issue Look for the cause of the leak. It's often a worn-out washer, O-ring, cartridge, or valve seat. Clean the area to ensure you have a clear view of the problem. Step 5: Fix the Problem If it's a washer or O-ring, they can usually be removed with a screwdriver and replaced with an exact match from your local hardware store. For other issues, you may need to replace the cartridge or call in a professional. Step 6: Reassemble the Faucet Once the defective part is fixed or replaced, reassemble the faucet in reverse order. Step 7: Turn On the Water Slowly turn on the water to the faucet and check for leaks. If the leak persists, you may need to tighten the faucet more or check for other issues. Tools You'll Need Adjustable wrench Screwdriver (flathead or Phillips, depending on the faucet type) New washers, O-rings, cartridges, or valve seats as needed Safety Tips Faucets often have small parts that can get lost, so work in a well-lit area and keep track of all pieces. Be sure to turn off the water before you begin to avoid any unexpected gushers. Unclogging a Drain Why It's Important A clogged drain is not only a hassle, but it can also lead to slow drainage and unsanitary conditions. How To Unclog a Drain There are several methods you can use to unclog a drain. Here are the most common: Baking Soda and Vinegar Pour 1/2 cup of baking soda down the drain, followed by 1/2 cup of white vinegar. Cover the drain if you can, and wait 15 minutes. Flush the drain with boiling water. The Plunger Fill the sink or tub with enough water to cover the bell of the plunger. Place the plunger over the drain, making sure it has a good seal. Pump the plunger up and down forcefully several times. If it's a double sink, plug the other side with a wet cloth or use a second plunger. The Drain Snake Use a drain snake to push through the clog. For a sink, the snake is often inserted directly into the drain. For a bathtub or shower, you will need to remove the stopper to access the drain. When you feel resistance, turn the snake's handle clockwise to dislodge the clog. Tools You'll Need Plunger Drain snake Baking soda and vinegar Boiling water Safety Tips Don't mix chemical drain cleaners with other products, especially vinegar in a drain previously cleaned with bleach, as it can create toxic fumes. When using a drain snake, be cautious not to push too hard and damage the pipes. Replacing a Toilet Flapper Why It's Important A toilet flapper that doesn't form a proper seal can cause water to continuously run into your toilet bowl, wasting water and money. It's a common issue and often means it's time for a new flapper. How To Replace a Toilet Flapper Replacing a toilet flapper is relatively simple: Step 1: Turn Off the Water Locate the shut-off valve behind your toilet and turn it clockwise to turn off the water supply. Step 2: Drain the Toilet Tank Flush the toilet and hold down the handle to drain the tank completely. Step 3: Remove the Old Flapper Depending on the type of flapper, you may need to unhook a small chain or slide it off the overflow tube. Step 4: Install the New Flapper Position the new flapper over the opening at the bottom of the tank. Reattach the chain to the flush lever, ensuring there is slack in the chain when the flapper is closed. Step 5: Turn On the Water Turn the water supply back on and allow the tank to fill. Check for any leaks and adjust the chain length as needed to ensure a full seal when the flapper is closed. Tools You'll Need New toilet flapper (ensure it's the right model for your toilet) Gloves (optional) A towel (to clean any water that may spill out when removing the old flapper) Safety Tips The most critical step is to turn off the water. Be careful not to drop anything into the toilet bowl while removing or installing the flapper. Repairing a Running Toilet Why It's Important A running toilet is usually a sign of wasted water. It could be due to a faulty flapper, fill valve, or overflow pipe. How To Fix a Running Toilet To repair a running toilet, you'll need to troubleshoot the cause: Step 1: Identify the Issue Remove the lid from the toilet tank. Watch and listen to see what's happening when the toilet is running. Step 2: Check the Flapper Inspect the flapper to make sure it is forming a proper seal. If not, it may need adjustment or replacement. Step 3: Examine the Fill Valve Ensure the fill valve is not stuck. It should shut off when the tank is full. Step 4: Look at the Float If the float is set too high, it can cause the water level to rise above the overflow pipe and run continuously. Adjust the float to the correct height. Step 5: Check for Leaks A toilet that is constantly running may have a leak. You can conduct a dye test to see if water from the tank is leaking into the bowl without flushing. Tools You'll Need Dye tablet or food coloring (optional) Gloves (optional) Towel (to clean any water that may spill out when inspecting the tank) Safety Tips Take care when handling the components inside the tank. Do not force anything, and handle the porcelain carefully to avoid cracking or breaking the tank, which would require a costly replacement. Patching a Leaking Pipe Why It's Important A leaking pipe can cause water damage to your home's structure and promote mold growth, in addition to wasting water. How To Patch a Leaking Pipe To patch a leaking pipe, you have a few options depending on the nature of the leak and the size of the hole: Pipe Repair Clamp For small leaks in straight pipe sections, a pipe repair clamp can be a quick and effective solution. Ensure the pipe is clean and dry, then simply position the clamp over the leak and tighten the screws until the leak is sealed. Epoxy Putty Epoxy putty is a versatile and can be used to repair leaks in pipes of varying materials. Knead the putty to activate it, then apply it firmly over the leak. Allow it to cure as per the manufacturer's instructions. Once hardened, it will create a strong seal. Pipe Wrap Pipe wrap products can be used for temporary fixes or for leaks in hard-to-reach areas, such as behind walls. These wraps are impregnated with a resin that activates when wet. Simply wrap the product around the leak and smooth out any creases, then wait for the resin to set. Tools You'll Need Pipe repair clamp Epoxy putty Pipe wrap Appropriate cleaning materials (pipe brush, sandpaper, etc.) Safety Tips Be extremely cautious if the leak is in a place where water and electricity could come into contact. In such cases, it's best to shut off the electricity in the affected area before working on the pipe. Armed with the knowledge from this guide, you're well on your way to becoming a homeowner hero. DIY plumbing repairs can not only save you money but can also provide a sense of satisfaction and empowerment. Experience tells us that even with the most thorough guide, sometimes the best solution is having an expert by your side. If you're facing a plumbing project that seems a bit beyond your comfort level, don't hesitate to contact our Hamilton plumbers at Rescue Rooter for professional assistance. For those about to DIY, we salute you. And remember, play it safe, take your time, and don't hesitate to reach out if you need a hand.
Clogged Sink Repairs Hamilton
By Chelsey Smith 05 Apr, 2024
Dealing with a clogged sink is one of those household chores that seem to strike at the most inopportune times — like when you're running late in the morning, or during a bustling dinner party. The water takes ages to drain or, worse, it doesn’t drain at all. What do you do? Whether it’s caused by excess hair, grease, or soap scum, a clogged sink is not only a nuisance but can also be a health hazard and lead to water damage if not managed promptly. But fear not, in this guide we'll walk you through the simple steps to take back control of your drain. Understanding the Signs of a Clogged Sink Before you roll up your sleeves, it's important to know the culprits. Pay attention to the signs — is the water draining slower than normal? Does it back up into the sink? Perhaps you hear gurgling sounds when the water is trying to go down. These symptoms indicate you’re approaching a clog, or might already be there. Being proactive and addressing these issues promptly can prevent further damage. Tools and Materials Needed Unclogging your sink shouldn't require a PhD in plumbing. Basic tools and some easily obtainable materials are all you need. Here's what you should have ready: A sink plunger A plumber's snake/augers Baking soda Vinegar Boiling water Rubber gloves A bucket A sponge or cloth Adjustable wrench (for P-trap removal) Make sure you're familiar with the operation of these tools before you begin. Safety should always come first, especially when it involves sharp objects and hot liquids. The Step-by-Step Guide Step 1: Clearing the Area and Preparing the Sink Before you start plunging or dismantling any parts, ensure the area is clear. Remove any objects from around the sink that could interfere with your work. If you've got a double-basin kitchen sink or one with a secondary container, block the unclogged portion with a stopper or a damp cloth to ensure proper suction when you plunge. Step 2: Using a Plunger to Unclog the Sink A sink plunger is slightly different from a toilet plunger — it has a flat bottom and a narrower profile. It's your first line of defense against a clog in most cases. Here's how to use it effectively: Fill the sink with a few inches of water to create a seal around the plunger. Position the plunger over the drain, ensuring it forms a tight seal. Plunge up and down rapidly several times, maintaining the seal. Check to see if the water begins to drain. If it doesn't, repeat the process a few times. Step 3: Applying Natural Solutions for Unclogging If plunging doesn’t do the trick, it’s time to switch to household remedies: Pour a pot of boiling water down the drain to dissolve some of the blockage. Create a mixture of one part baking soda to one part vinegar and pour it down the drain, using the solution's fizzing action to dislodge the clog. Afterward, pour hot water to flush it away. Be patient with these solutions — they're often effective, but might need time to work, especially on tougher clogs. Step 4: Checking and Clearing the P-Trap The P-trap is the curved section of pipe under the sink. It’s common for it to collect debris over time. To clear the P-trap: Place a bucket or pan under the P-trap to catch any water and debris. Use an adjustable wrench to loosen the slip nuts that hold the P-trap in place. Once removed, clear out any visible obstructions with a gloved hand or a long brush. Reassemble the P-trap and run water to check if the problem is fixed. Step 5: Preventing Future Clogs The best way to cope with sink clogs is to stop them from happening in the first place: Use strainers to catch hair and debris in the bathroom. Never pour grease or oils down the kitchen sink — always dispose of them in the trash or collect them for recycling. Regularly flush your drains with hot water to prevent build-up. When to Call a Professional Sometimes, despite your best efforts, a clog may be deep in the pipes or there could be a more serious issue at play. If you're dealing with recurrent clogs, if multiple sinks are affected, or if you’ve tried several methods with no luck, it might be time to call in a professional Hamilton plumber . Rescue Rooter has the expertise and equipment to diagnose and resolve the issue safely and effectively. Ensuring your sink is free-flowing is essential for a smoothly functioning home. Regular maintenance and prompt attention to clogs can save you both time and money, while keeping your plumbing in good shape. We hope this guide helps you regain control over your sink drainage. Remember to be cautious and, if in doubt, don't hesitate to seek professional help when it comes to clogged sink repairs in Hamilton . Mastering the art of home maintenance can seem daunting, but with each challenge you tackle, you become more capable and in tune with your living space. Happy plunging, and here's to never having a sink clog get the best of you again. To further empower your home management skills, check out other insightful guides on our blog. And if you've got more unclogging wisdom to share, we'd love to hear about it in the comments section below! Contact us today for all of your plumbing issues today!
Show More
Share by: