Common Plumbing Issues as Your Home Ages

Erin M • January 25, 2025

Plumbing Issues as Your Home Ages

A woman is sitting under a sink talking on a cell phone.

As your home ages, so does its plumbing system. Over time, wear and tear can lead to a range of problems that, if left unchecked, may cause costly damage. Whether you're a homeowner, a DIY enthusiast, or a property manager, understanding these common issues can help you save money and keep your property in tip-top shape.

Here’s a rundown of the most common plumbing issues faced by older homes and how to address them.


ab1. Leaky Pipes

      One of the most common issues in aging homes is leaky pipes. Over time, corrosion can weaken plumbing materials like copper or galvanized steel. This leads to small cracks or          pinhole leaks, which, if untreated, can cause water damage or even flooding.

aiiSolution:

  • Look for visible signs of leaks, like water spots on walls or ceilings.
  • Replace damaged sections of pipe immediately using PEX or copper piping.
  • If leaks persist, call a professional plumber at A Rescue Rooter to assess and replace corroding pipes.


ab2. Low Water Pressure

      Do your faucets or showers have less pressure than they used to? This could be a sign of mineral buildup inside your pipes or even hidden leaks in the system. 

aiiSolution:

  • Clean aerators and showerheads to remove mineral deposits.
  • If the issue persists, have your pipes inspected by a professional to locate any blockages or leaks causing the pressure drop.


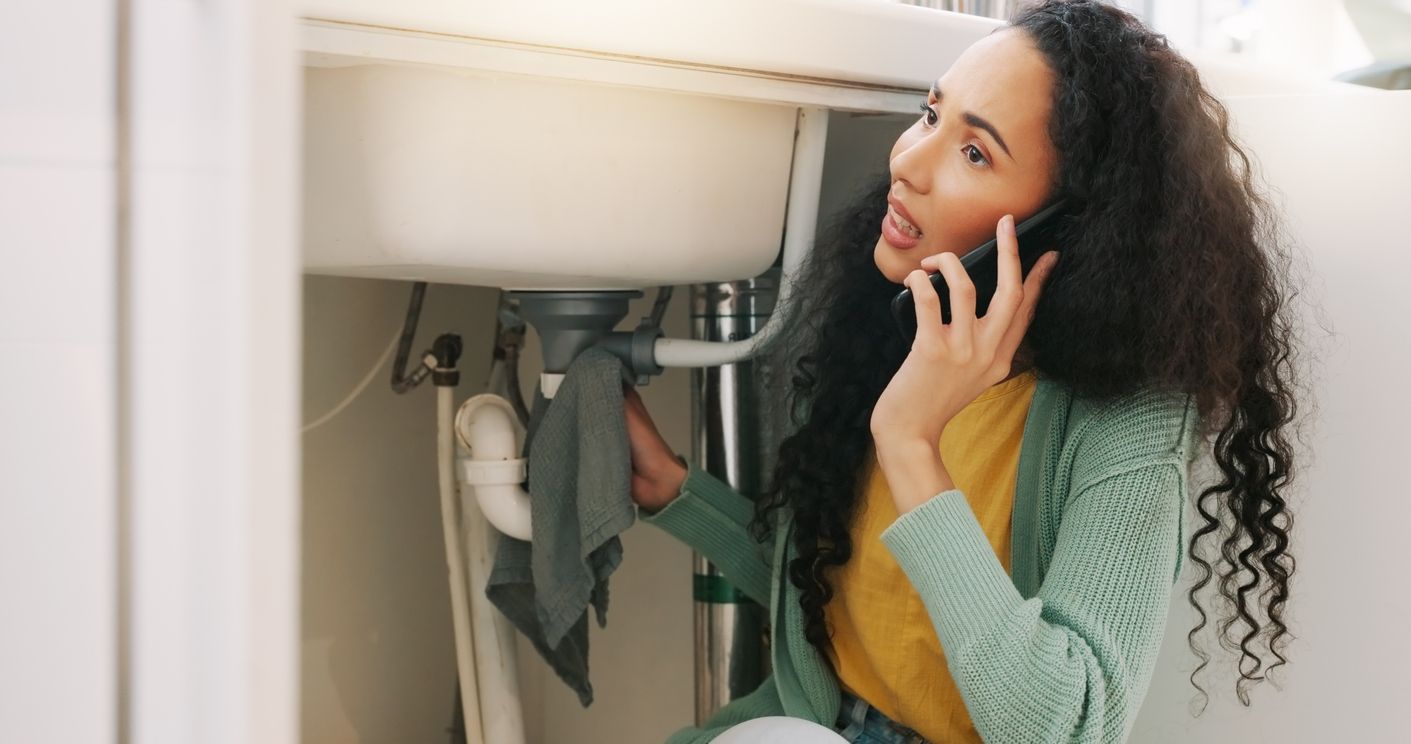
ab3. Clogged or Slow Drains

      Over time, hair, grease, and debris can build up in your drains, leading to slow or complete clogs. This issue is especially common in bathrooms and kitchens.

aiiSolution:

  • Use a plunger or plumbing snake to clear out small clogs.
  • Avoid chemical drain cleaners, as they can damage old pipes.
  • For persistent clogs, contact A Rescue Rooter to safely remove the blockage.


ab4. Outdated Fixtures

      Faucets, showerheads, and other fixtures may start to wear out as your home ages. Older fixtures often lead to leaks, drips, and reduced water efficiency.

aiiSolution:

  • Upgrade to modern, high-efficiency fixtures that help save water while improving performance.
  • Look for fixtures labeled with the WaterSense certification for ultimate water efficiency.


ab5. Water Heater Problems

      Older water heaters can become less efficient and may even start to fail, causing insufficient hot water or leaks.

aiiSolution:

  • Flush your water heater tank annually to remove sediment buildup.
  • Check for rust or corrosion on the exterior of the tank.
  • Consider upgrading to a tankless water heater, which is compact and energy-efficient.


ab6. Sewer Line Issues

      Sewer lines in older homes can deteriorate over time due to tree root intrusion, shifting soil, or general wear. This can lead to backups, unpleasant odors, and slow drainage.

aiiSolution:

  • Watch for signs of sewer line trouble, such as gurgling drains or foul smells.
  • Avoid planting trees near sewer lines to prevent root damage.
  • Call a licensed plumber for a sewer camera inspection to pinpoint the issue.


ab7. Old Pipe Materials

      Homes built before the 1980s often use plumbing materials such as galvanized steel and lead, which are prone to corrosion and can even pose health risks.

aiiSolution:

  • Replace galvanized steel pipes with modern materials like PEX or copper piping.
  • If your home has lead pipes, consult with a professional plumber immediately for replacement to ensure your water is safe to drink.


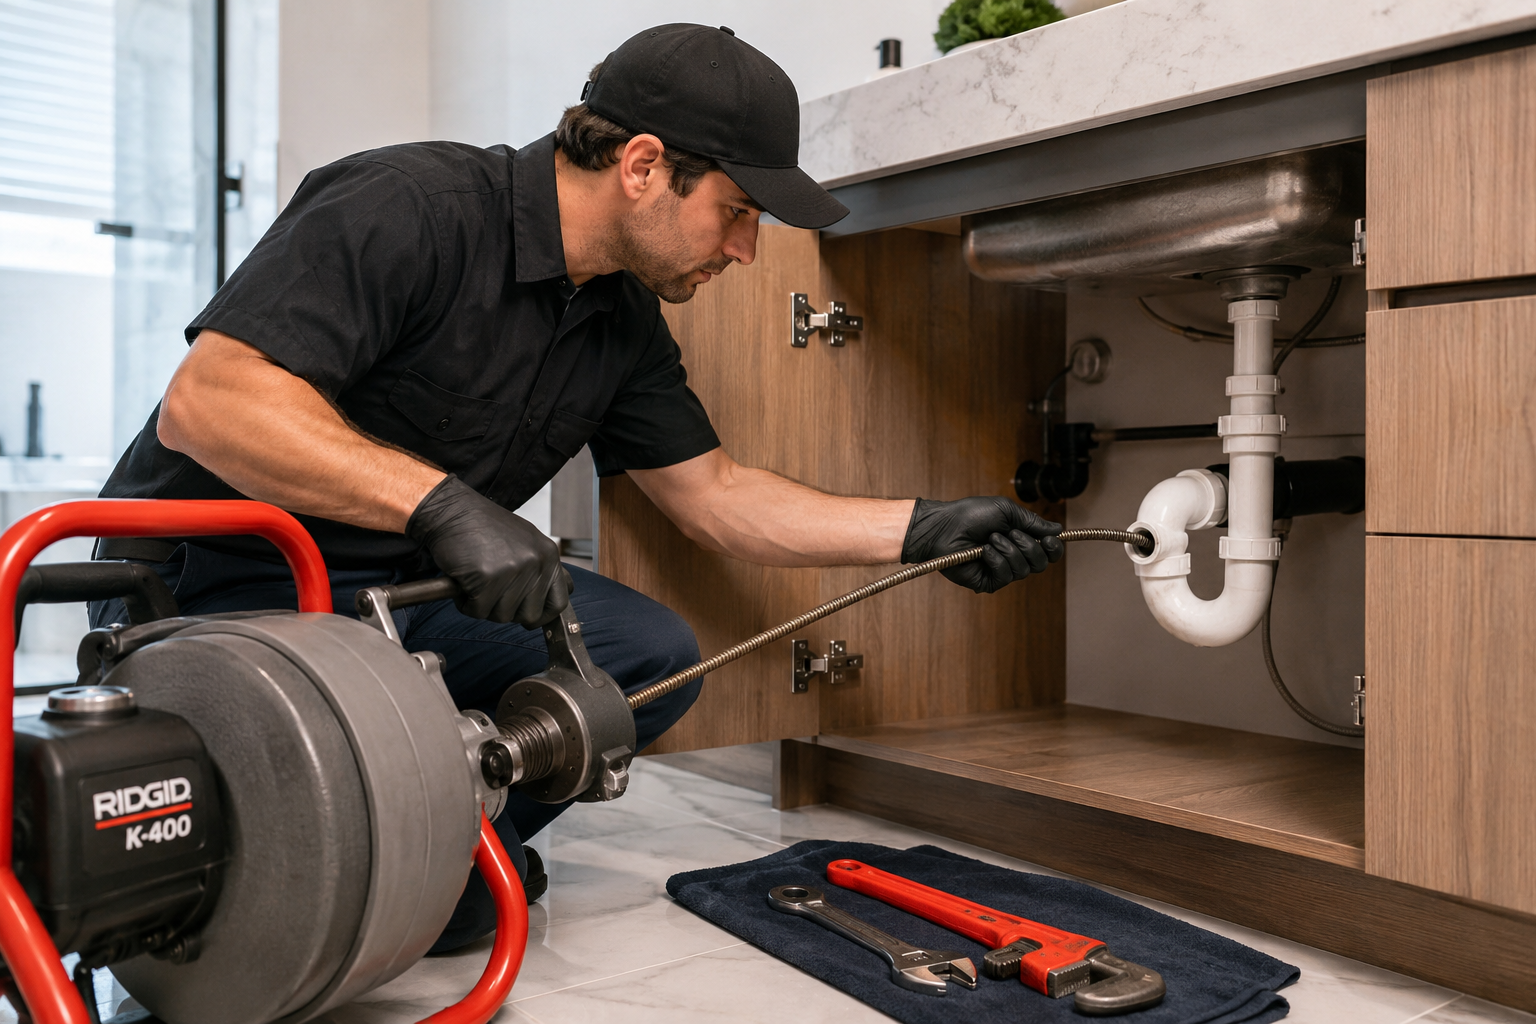
aiiWhy Choose A Rescue Rooter?

      Keeping your home’s plumbing in good shape doesn’t always mean doing it yourself. Some problems require professional expertise. That’s where A Rescue Rooter comes in.

      Here’s why homeowners in Hamilton, Brantford, and Burlington trust us:

  • No Premium Charge for Weekend or Evening Appointments: Plumbing emergencies don’t just happen during office hours, and we’ll never charge you extra for after-hours service.
  • Experienced Professionals: We’ve seen it all—from leaky pipes to major sewer line issues—and we’re equipped to handle any job, big or small.
  • Customer-Centered Service: We pride ourselves on delivering transparent, reliable service you can count on.


aiiProtect Your Plumbing Investment Today

      Preventative care is the key to extending the life of your home’s plumbing system. Regular inspections and maintenance can save you time, money, and headaches down the line.

      Need help solving a plumbing problem or want to schedule routine maintenance? Contact A Rescue Rooter today for prompt, professional service without the premium charges.

      Give us a call or visit our website to schedule your appointment.

aiiYour aging home deserves reliable plumbing. We’re here to help and only a phone call away at (905) 521-8284!


December 22, 2025
A small drip from a faucet is easy to spot, but what about the leaks you can't see? Hidden water leaks can silently cause significant damage to your home’s structure, promote mold growth, and lead to shockingly high water bills. Knowing how to spot the signs of these elusive leaks is a crucial skill for any homeowner. This guide will walk you through practical methods for detecting hidden water leaks and explain why acting fast is so important. Why You Must Address Leaks Immediately Ignoring a potential water leak is a gamble you don't want to take. Even a small, slow drip can have major consequences over time. Water can weaken wooden beams, crumble drywall, and damage your home's foundation. The persistent moisture creates a perfect environment for mold and mildew, which can pose health risks to your family. Beyond structural damage, the financial cost is twofold. First, your water bill will increase as you pay for water you aren't even using. Second, the repair costs for water damage are often far more expensive than the cost of fixing the leak itself. A simple plumbing repair can turn into a massive renovation project if left unchecked. Simple Ways to Find Hidden Leaks You don't need to be a professional plumber to start the search for a hidden leak. With a little observation and a few simple checks, you can often identify a problem before it gets out of hand. Check Your Water Meter Your water meter is one of the most reliable tools for leak detection. It measures all the water flowing into your home, so any unexpected activity can point to a leak. How to perform a meter test: 1. Turn off all water: Make sure no faucets are running, toilets aren't flushing, and appliances like the dishwasher or washing machine are off. 2. Locate your water meter: It's usually in a box near the curb or in a basement or utility area. 3. Check the leak indicator: Most modern meters have a small triangle, dial, or wheel that moves when water is flowing. If this indicator is spinning, even slowly, you likely have a leak somewhere in your system. 4. Note the reading: If your meter doesn't have a leak indicator, write down the numbers on the dial. Wait one to two hours without using any water, then check the reading again. If the numbers have changed, water is escaping somewhere. Scrutinize Your Water Bill Your monthly water bill provides a clear record of your usage. A sudden, unexplained spike is a major red flag. Compare your recent bills to previous months or the same period from last year. If your habits haven't changed but your usage has dramatically increased, it’s time to investigate. Many utility companies even provide daily or hourly usage data online, which can help you pinpoint when the excess water use is happening. Inspect Your Home's Interior Your walls, ceilings, and floors can offer visual clues of a hidden leak. Take a walk through your home and look for these signs: ● Discoloration or Stains: Yellow or brown stains on ceilings or walls are classic signs of water slowly seeping through. ● Peeling or Bubbling Paint: Moisture behind a wall will cause paint or wallpaper to peel, bubble, or blister. ● Warped Surfaces: Look for warped walls, sagging ceilings, or buckled flooring, especially around bathrooms, kitchens, and laundry rooms. ● Musty Odors: A persistent damp, earthy smell often indicates mold or mildew growth, which thrives in areas with hidden moisture. Listen for Unusual Sounds Sometimes, you can hear a leak before you can see it. During a quiet time in your home, like late at night, listen carefully for sounds coming from your walls. A dripping, hissing, or rushing sound when all faucets are off is a clear signal that water is running where it shouldn't be. Pay close attention to the areas where your main water line enters the house and around major plumbing fixtures. Don't Wait—Get Professional Help Finding a hidden leak can feel overwhelming, but you don't have to handle it alone. While these DIY tips can help you confirm a problem exists, locating the exact source and repairing it often requires professional expertise and equipment. A delayed response only makes the problem worse and more expensive to fix. At A Rescue Rooter, our experts are equipped with advanced leak detection technology to find the source of the problem quickly and accurately, without causing unnecessary damage to your home. We understand that plumbing emergencies don't stick to a 9-to-5 schedule. That’s why we are available 24/7 to help you.  Best of all, you can call us anytime without worrying about extra fees. A Rescue Rooter never charges a premium for after-hours, weekend, or holiday service. When you have a leak, you need help fast. We’re here to provide it, day or night. Contact us to get your leak fixed and your home protected.
November 30, 2025
This is a subtitle for your new post
October 29, 2025
Finding a pool of murky, stagnant water at the bottom of your dishwasher after a cycle is a frustrating discovery. Not only is it unsanitary, but it also means your dishes are far from clean. The good news is that a dishwasher that won't drain is a common household problem, and you can often fix it yourself with a few simple troubleshooting steps. This guide will walk you through the most frequent causes of a clogged dishwasher and how to resolve them safely. We'll also help you identify when the issue requires a professional touch. Safety First: Turn Off the Power Before you begin any inspection or repair work, your top priority is safety. Water and electricity are a dangerous combination. To avoid any risk of electric shock, you must disconnect the dishwasher from its power source. You can do this by either unplugging the unit from the wall outlet, which is often located under the sink, or by switching off the dedicated circuit breaker for the dishwasher in your home's electrical panel. Once the power is off, you can safely proceed with your investigation. Common Causes for a Dishwasher Not Draining Most drainage issues stem from a simple blockage. By checking a few key areas, you can usually locate and clear the obstruction without needing special tools. 1. Check for a Clogged Filter Your dishwasher's filter is designed to catch food particles, debris, and other small objects to prevent them from clogging the drain system. Over time, this filter can become blocked, stopping water from draining properly. Locate the Filter: The filter is typically a cylindrical component found on the floor of the dishwasher, usually beneath the lower spray arm. You may need to remove the bottom rack to access it. Remove and Clean: Most filters can be removed by twisting them counter-clockwise. Once removed, take it to the sink and wash it thoroughly with warm, soapy water. Use a soft brush to gently scrub away any stubborn food residue. Inspect the Sump: With the filter removed, check the area underneath it (the sump) for any larger pieces of debris that might be causing a blockage. Reinstall: Once clean, securely place the filter back into its housing. Running the dishwasher without the filter can lead to more serious damage to the pump and drain lines. After cleaning the filter, run a short rinse cycle to see if the problem is resolved. 2. Inspect the Drain Hose The drain hose is a flexible, ribbed tube that carries wastewater from your dishwasher to the garbage disposal or the main drain pipe under your sink. Kinks or clogs in this hose are another frequent reason for drainage failure. Look for Kinks: Visually inspect the entire length of the hose that runs from the dishwasher to the sink's plumbing. Ensure it isn't bent, twisted, or pinched behind the appliance or under the sink. Straightening out a kink is often all it takes to fix the issue. Check for Clogs: If there are no visible kinks, the hose itself may be clogged. Place a bucket or pan under the connection point at the sink, and disconnect the hose. Allow any trapped water to drain into the bucket. Clear the Hose: Carefully inspect both ends of the hose for blockages. You can try to dislodge any clogs by gently blowing through the hose or by using a plumber's snake to clear the obstruction. Once clear, reattach it securely. 3. Clear the Garbage Disposal Many dishwashers drain directly into the garbage disposal. If the disposal is clogged with food waste, it will prevent water from the dishwasher from draining away. Run the Disposal: Before starting a dishwasher cycle, always run your garbage disposal with cold water for about 30 seconds to ensure it's clear. Check the Knockout Plug: If your dishwasher is newly installed, the installer may have forgotten to remove the knockout plug inside the disposal's dishwasher connection nipple. To check this, you'll need to disconnect the drain hose from the disposal and feel inside the nipple for a plastic plug. If it's there, carefully knock it out with a screwdriver and hammer, then retrieve the plastic piece from the disposal. 4. Examine the Air Gap Some plumbing codes require an air gap, which is a small cylinder-shaped fixture located on your countertop near the sink. Its purpose is to prevent contaminated drain water from siphoning back into your dishwasher. Like other components, it can get clogged. Remove the Cover: Pull off the metal or plastic cover of the air gap. Clean Inside: Underneath, you'll see a smaller plastic cap. Remove it and clean out any food particles or grime that have built up inside. A small brush or pipe cleaner can be very effective. Test the Drain: Once clean, reassemble the air gap and run a rinse cycle on your dishwasher. When to Call a Professional Plumber While these DIY steps can solve many drainage problems, some issues are more complex and require professional expertise. You should consider calling a plumber if: You've tried all the troubleshooting steps above and the dishwasher still won't drain. You suspect the problem lies with the dishwasher's drain pump or motor, which are more difficult and risky to repair. The issue appears to be related to your home's main plumbing lines rather than just the dishwasher. You are not comfortable performing any of the inspection or cleaning steps yourself.  Attempting complex repairs without the proper knowledge can lead to further damage to your appliance or even cause water damage to your kitchen. Get Expert Help from A Rescue Rooter Don't let a clogged dishwasher disrupt your routine. If you're facing a stubborn drainage issue or prefer to leave the work to an expert, the team at A Rescue Rooter is here to help. Our professional plumbers have the tools and experience to quickly diagnose and resolve any plumbing problem, from a simple clog to a complex repair. We ensure the job is done right, so you can get back to enjoying the convenience of a fully functional dishwasher.
Show More